This Steamed Shrimp recipe will easily become your go-to dish for a quick 15-minute weeknight meal. Our easy-to-follow recipe ensures perfectly tender shrimp, cooked to perfection and seasoned with Old Bay and smoked paprika. Pair these with your favorite sides, salads, or with our mouthwatering dipping sauces.
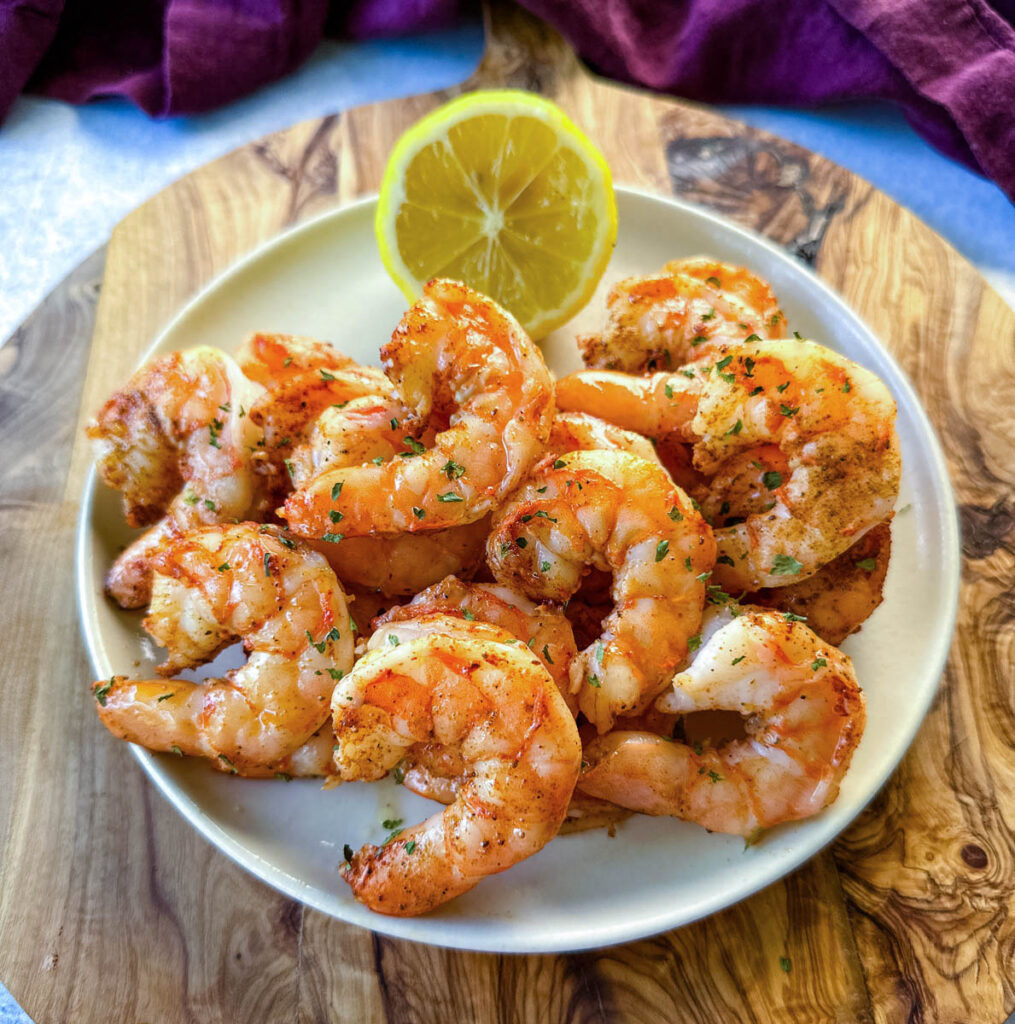
Key Ingredients
- Shrimp
- Old Bay Seasoning
- Smoked Paprika
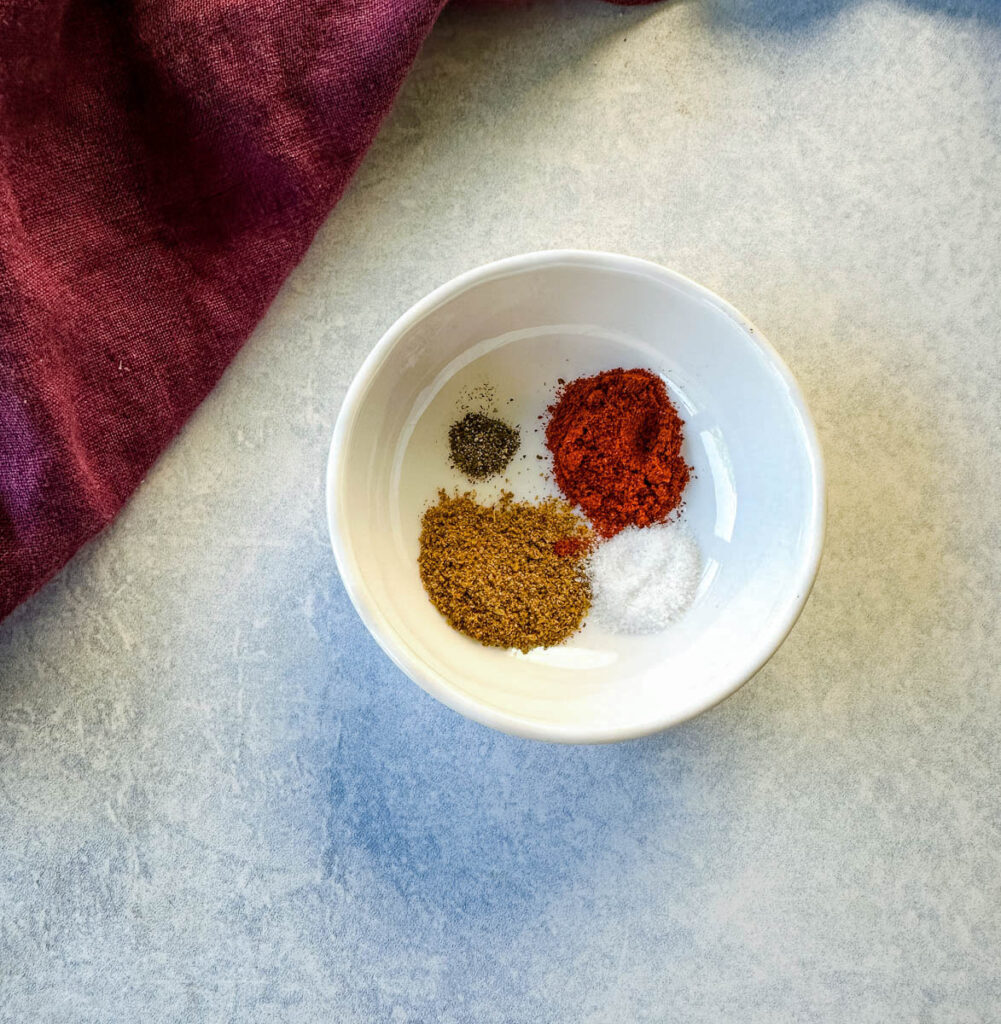
What Type of Shrimp to Use
Here are some considerations and things to look for:
- Freshness: Look for shrimp with a firm texture, a pleasant ocean-like smell, and no signs of discoloration or sliminess.
- Size: Larger shrimp are often preferred for steaming, as they have a meatier texture and can hold up well to the gentle cooking process. Medium to jumbo shrimp sizes work well. Check out our Shrimp Size Guide and Counts Per Pound for more information on what count to buy.
- Shell-On or Peeled: You can steam shrimp with the shells on for enhanced flavor, as the shells can infuse the shrimp with their essence during cooking. Peeled shrimp are easier to eat, and is how I prefer to make them.
- Deveined Shrimp: Deveined shrimp are convenient and will you save you time since you won't have to devein the shrimp yourself. This refers to the process of removing the digestive tract or "vein" that runs along the back of a shrimp. To devein a shrimp, you'll need to make a shallow incision along the back of the shrimp, exposing the vein. You can then use a small knife or a deveining tool to gently lift and remove the vein.
- Wild-Caught or Farm-Raised: Wild-caught shrimp refers to shrimp that are harvested directly from their natural habitat, such as oceans, seas, or rivers, rather than being raised in aquaculture (fish farming) facilities. Decide which type you prefer.
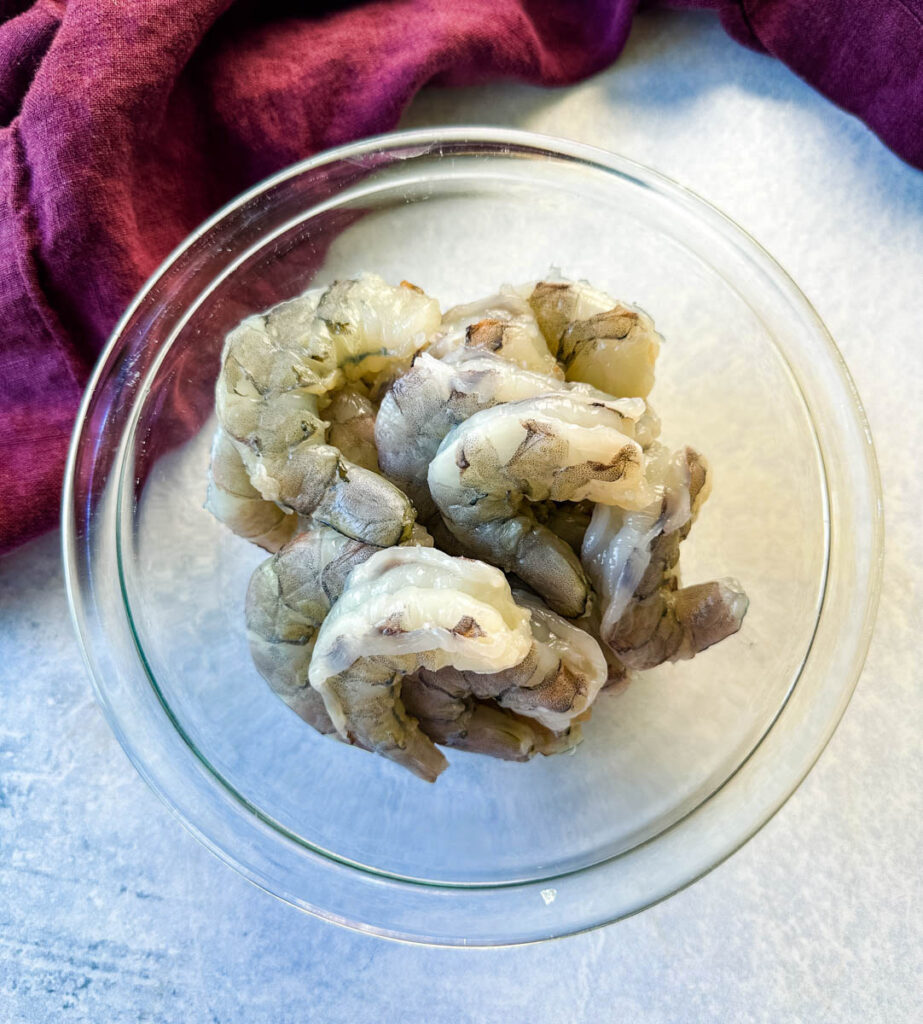
What Steamer to Use
I recommend using a steaming basket that is large enough to accommodate all of the shrimp.
I use this Always NonStick Pan from Amazon that comes with a steaming basket. I misplaced the original steamer and ordered a bamboo one to use instead. Either will work.
You can also use this steaming basket. It's small so you will likely have to cook in batches if used.
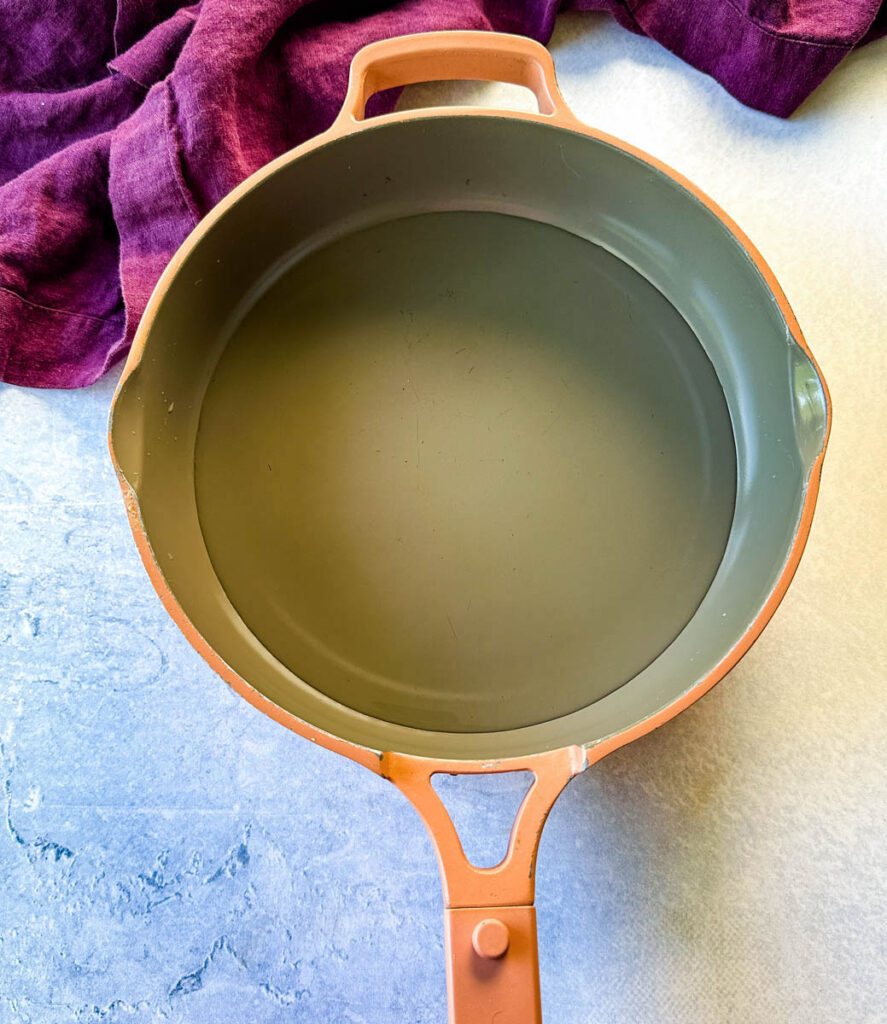
How to Make Steamed Shrimp
Detailed measurements and full instructions can be found in the recipe card at the bottom of this post.
- Fill a large pot or pan with 1-2 inches of water. Bring the water to a boil.
- Season the shrimp with the spices and ensure the shrimp is fully coated.
- Once the water is boiling, place a steamer basket or metal colander into the pot.
- Arrange the seasoned shrimp in the steamer basket or colander.
- Cover the pot with a lid and let the shrimp steam.
How to Tell When it's Finished Cooking
Shrimp cook fast, so you won't need much time to make these.
Want to save this recipe for later?
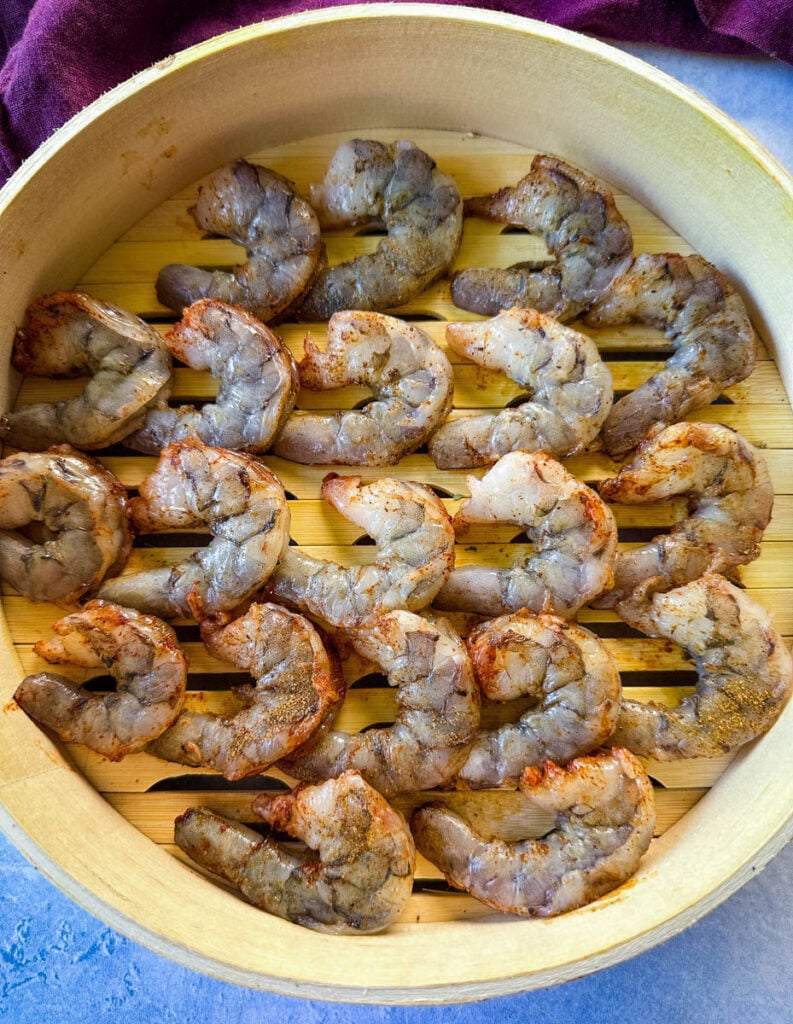
- Color Change: As shrimp cook, they change from a translucent grayish color to a vibrant pinkish-red. Keep an eye on the color transformation. The shrimp are likely done when they are uniformly pink and opaque.
- Texture and Firmness: Gently press one shrimp. If it feels firm and slightly springy, it's likely cooked. Overcooked shrimp tend to be tough and lose their natural texture.
- Curling and Shape: Shrimp curl up as they cook. Once they have curled into a "C" shape, it's a good indicator that they are close to being fully cooked. Once it curls into a tight "O," it's typically overcooked.
- Internal Temperature: Use a meat thermometer to check the internal temperature of shrimp. Fully cooked shrimp should have an internal temperature of 120-130 degrees.
- Size Matters: Cooking times vary based on the size of the shrimp. Small shrimp might be done in just 2-3 minutes, while larger ones might take 4-5 minutes. Adjust the cooking time accordingly.
Overcooked Shrimp
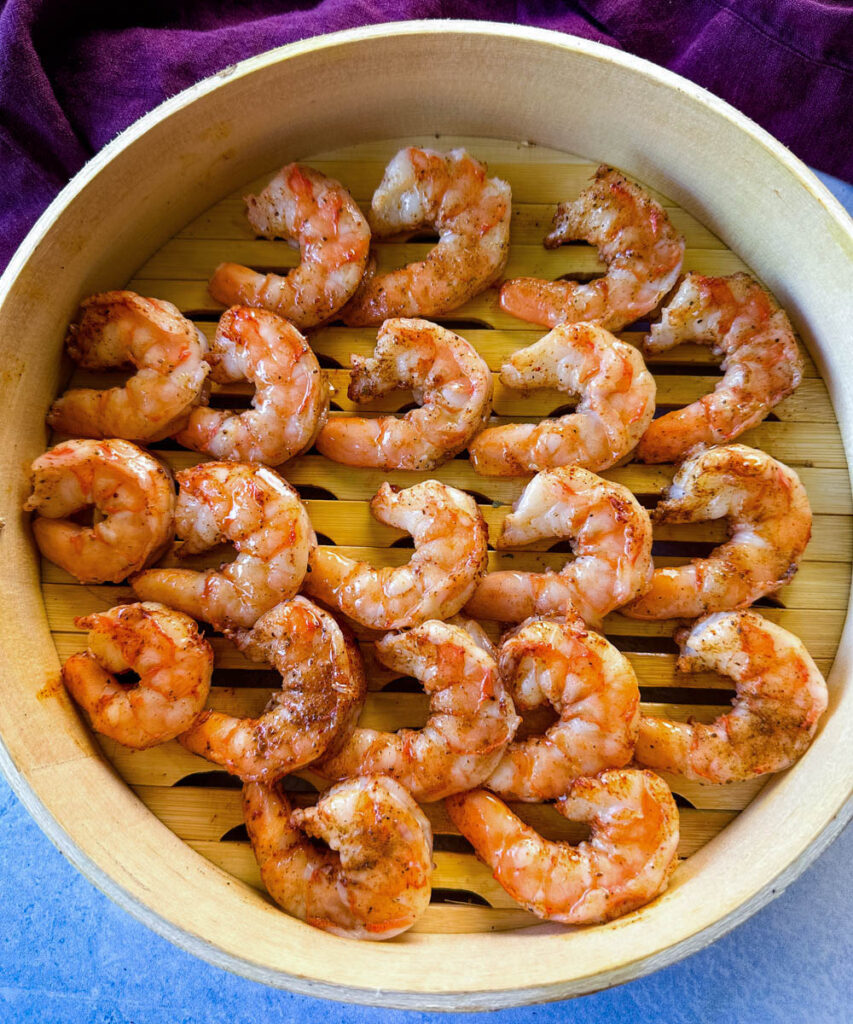
Shrimp can go from perfectly cooked to overcooked very quickly. I like to always err on the side of slightly undercooked, as residual heat will continue to cook them even after they're removed from the steam. Here are some signs the shrimp was cooked too long:
- Tough Texture: Overcooked shrimp can become rubbery and tough, making them difficult to chew and less pleasant to eat.
- Loss of Moisture: When shrimp are overcooked, they can lose their natural moisture and become dry and less juicy.
- Opaque White Color: If the shrimp's flesh turns completely opaque and white, it's a sign of overcooking. Shrimp should be opaque with a pinkish hue when fully cooked.
- Curling into Tight "O" Shape: If the shrimp curl into a tight "O" shape, it indicates they've been cooked for too long. Ideally, shrimp should be in a relaxed "C" shape when properly cooked.
- Falling Apart: Overcooked shrimp can start to fall apart and have a crumbly texture instead of staying intact.
- Lack of Flavor: Overcooked shrimp might lose some of their natural flavor and taste bland.
More Ways to Season the Shrimp and Substitutions
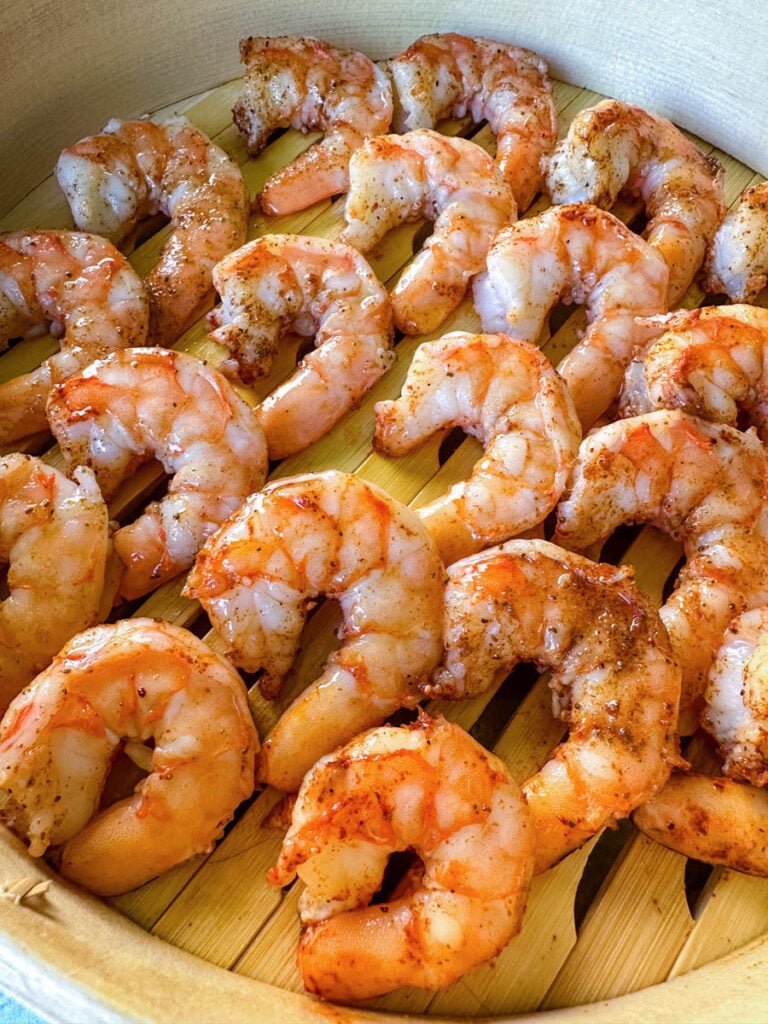
- Lemon or Lime Zest: Grate the zest of lemon or lime over the shrimp for a burst of citrusy freshness.
- Seafood Garlic Butter Sauce: Melted garlic butter brushed over the shrimp and can bring a rich and aromatic taste.
- Herbs: Sprinkle chopped fresh herbs like parsley, cilantro, dill, or chives for a burst of herbal goodness.
- Cajun or Creole Seasoning: If you enjoy some heat, a Cajun or Creole seasoning blend can add a flavorful kick.
- Soy Sauce and Sesame Oil: A drizzle of soy sauce and a touch of sesame oil can infuse the shrimp with savory umami flavors.
- Chopped Chilies: For those who like heat, consider adding finely chopped chilies like red pepper flakes or fresh jalapeños.
- Minced Garlic and Olive Oil: A drizzle of quality olive oil with minced garlic can add depth and richness to the taste.
- Sweet and Spicy Glaze: Mix honey or maple syrup with a dash of hot sauce for a sweet and spicy glaze to brush onto the shrimp.
- Fresh Salsa: A spoonful of fresh tomato salsa with onions, cilantro, and lime juice can provide a zingy and vibrant flavor.
- Sesame Seeds: Sprinkle toasted sesame seeds over the shrimp for added crunch and a hint of nuttiness.
- Pineapple Mango Salsa: Pair the shrimp with fresh mango salsa for a tropical twist that balances sweet and savory flavors.
- Balsamic Reduction: Drizzle a balsamic reduction over the shrimp for a touch of sweetness and acidity.
How to Store Leftovers
Leftovers can be stored tightly covered and sealed for 3-4 days in the fridge.
How to Reheat
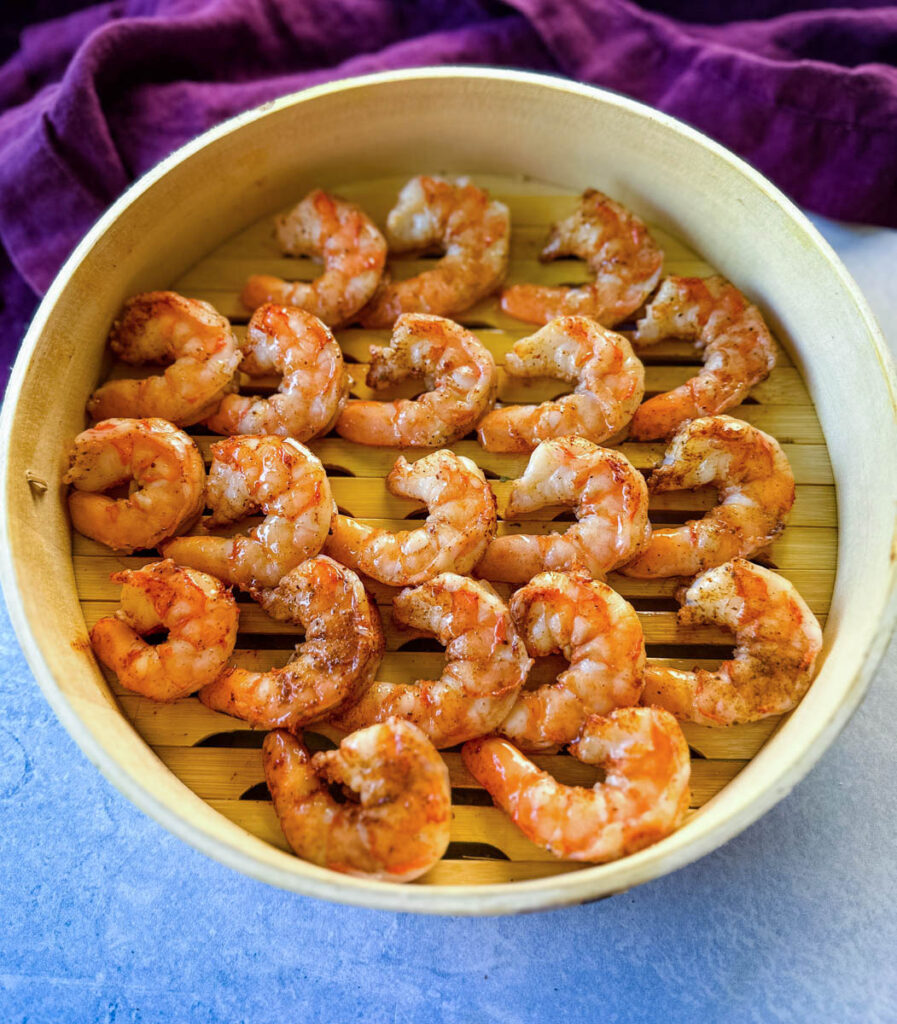
The best way to reheat is in the air fryer at 350 degrees until warm or seared in a pan with butter. The more you reheat it, the tougher the texture will become so be cautious.
Freezer Tips
The texture may change slightly upon thawing and reheating. The shrimp may be slightly less firm compared to when they were freshly cooked. You can freeze it for 2-3 months.
Pair With These Recipes
Slow Cooker Crockpot Cheesy Potatoes
Au Gratin Potatoes with Bacon and Cheese
Roasted Brussels Sprouts with Garlic
Collard Greens with Smoked Turkey
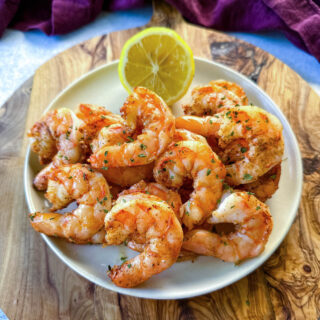
Old Bay Steamed Shrimp
Want to save this recipe for later?
Equipment
Ingredients
- 1 pound raw shrimp Deveined; Peeled or Shells On based on your preference
- ½ teaspoon smoked paprika
- ½-1 teaspoon Old Bay
- salt and pepper to taste
Instructions
- Fill a large pot or pan with 1-2 inches of water. Bring the water to a boil. Use enough water to fill the pot without the steamer basket touching the water.
- While the water is coming to a boil, prepare the shrimp. Season the shrimp with the spices and ensure the shrimp is fully coated.
- Once the water is boiling, place a steamer basket or metal colander into the pot. Ensure that the bottom of the basket or colander does not touch the boiling water.
- Arrange the seasoned shrimp in the steamer basket or colander.
- Cover the pot with a lid and let the shrimp steam for about 2 to 5 minutes, depending on the size of the shrimp. The shrimp will turn from grey to pink and opaque when fully cooked.
- Carefully remove the steamer basket or colander from the pot, using oven mitts or tongs to protect your hands from the hot steam. Transfer the steamed shrimp to a serving platter.
Notes
Nutrition
Nutrition Data
Macros are provided as a courtesy and should not be construed as a guarantee. This information is calculated using MyFitnessPal.com. To obtain the most accurate nutritional information in a given recipe, you should calculate the nutritional information with the actual ingredients used in your recipe, using your preferred nutrition calculator. You are solely responsible for ensuring that any nutritional information provided is accurate, complete, and useful.


Leave a Reply