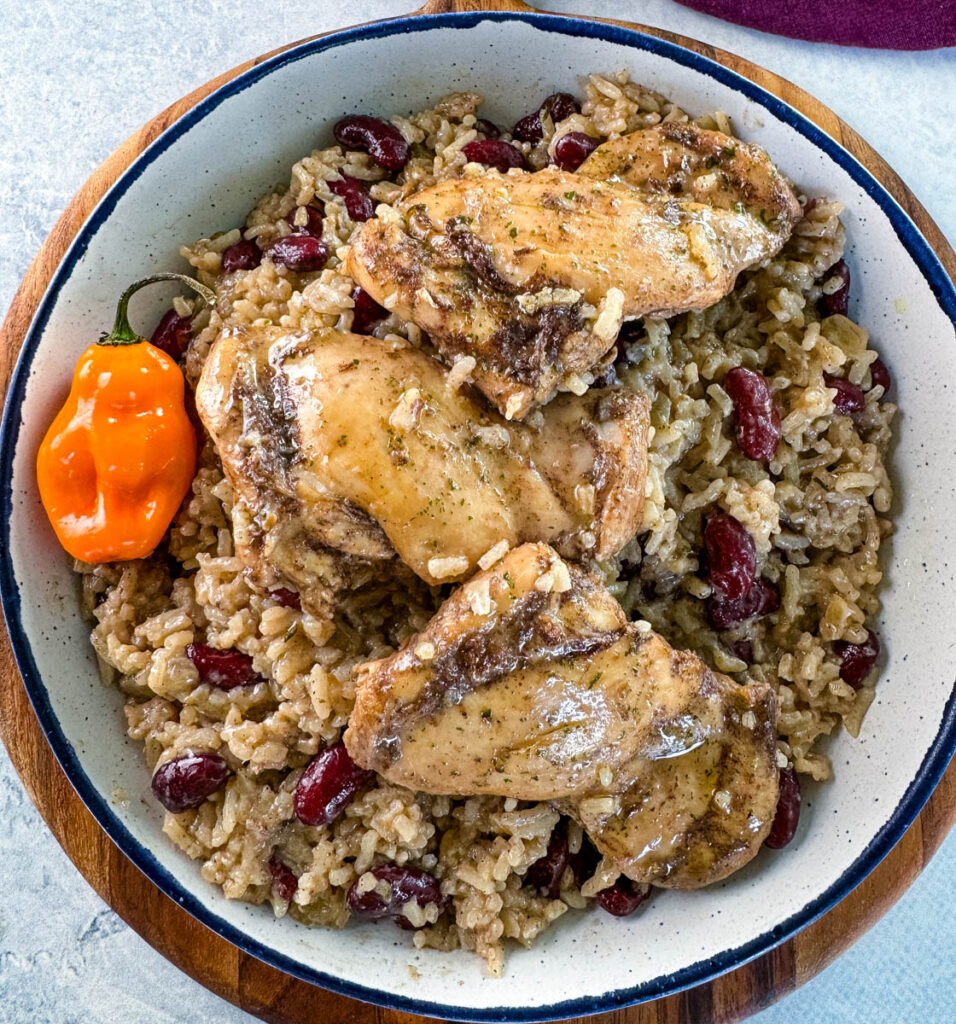
Imagine the bold, smoky flavors of jerk chicken paired with fragrant coconut rice and peas, all cooked together in one pot. Not only does this method simplify the cooking process, but it also allows the chicken to infuse the rice with its rich, flavorful marinade. In this recipe, we’re taking the essence of traditional Jamaican jerk chicken and rice and combining them into a convenient meal perfect for any time you’re craving a taste of the Caribbean.
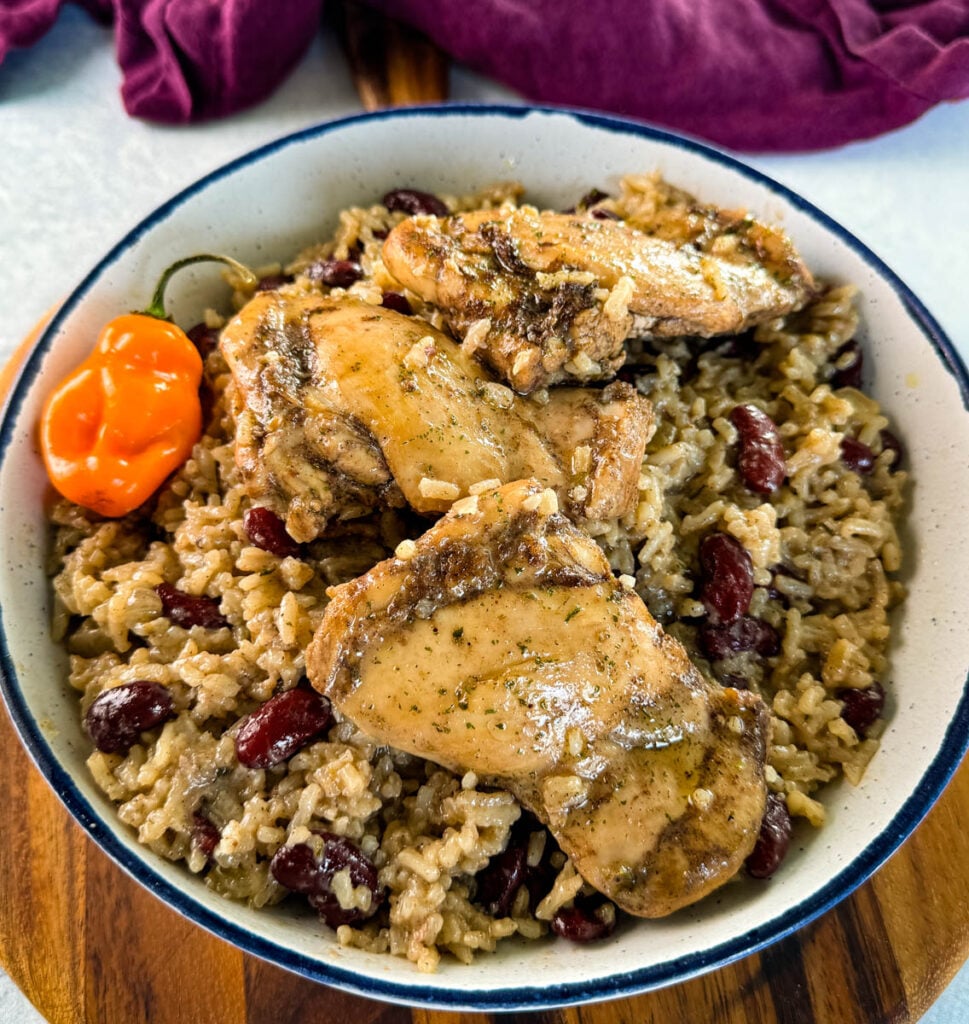
Rice and peas is a traditional Jamaican dish made with long-grain rice and pigeon peas or kidney beans, cooked together in a flavorful mixture of coconut milk, garlic, thyme, allspice, and other spices. Despite the name, "peas" in this context refers to pigeon peas or kidney beans, not green peas. This dish is a staple in Caribbean cuisine.
Key Ingredients
- Chicken Thighs
- Rice
- Onions
- Garlic
- Coconut Milk
- Jerk Chicken Marinade
- Bay Leaf
- Thyme
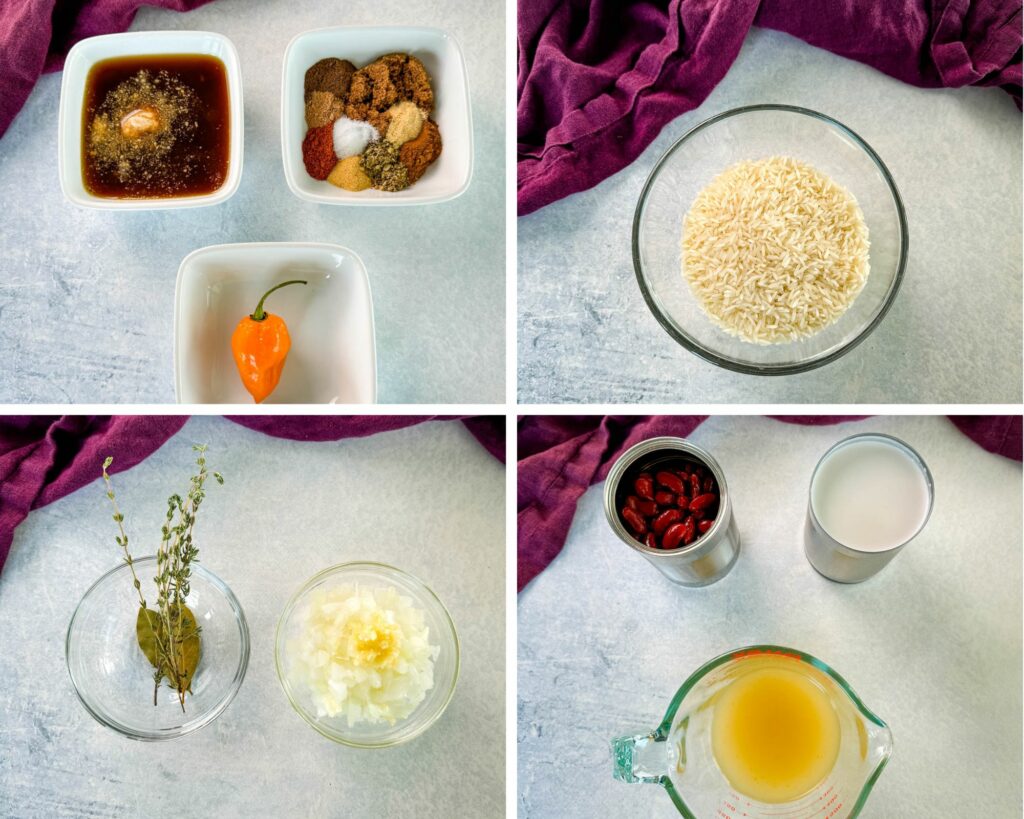
What Type of Rice to Use
Long-grain rice works best, such as jasmine or basmati. You will need uncooked rice, not processed and pre-cooked such as Minute Rice.
Long-grain rice is less starchy than short-grain varieties, which gives it a lighter, fluffier texture when cooked. This is essential for balancing the bold, spicy flavors of jerk chicken. The grains stay separate rather than clumping together, allowing the rich seasonings from the jerk sauce and rice dish to coat each grain evenly.
The light, non-sticky texture of long-grain rice makes it ideal for absorbing liquids like coconut milk, which is a staple in rice and peas. Coconut milk adds a creamy, slightly sweet taste, and long-grain rice absorbs it beautifully without becoming soggy.
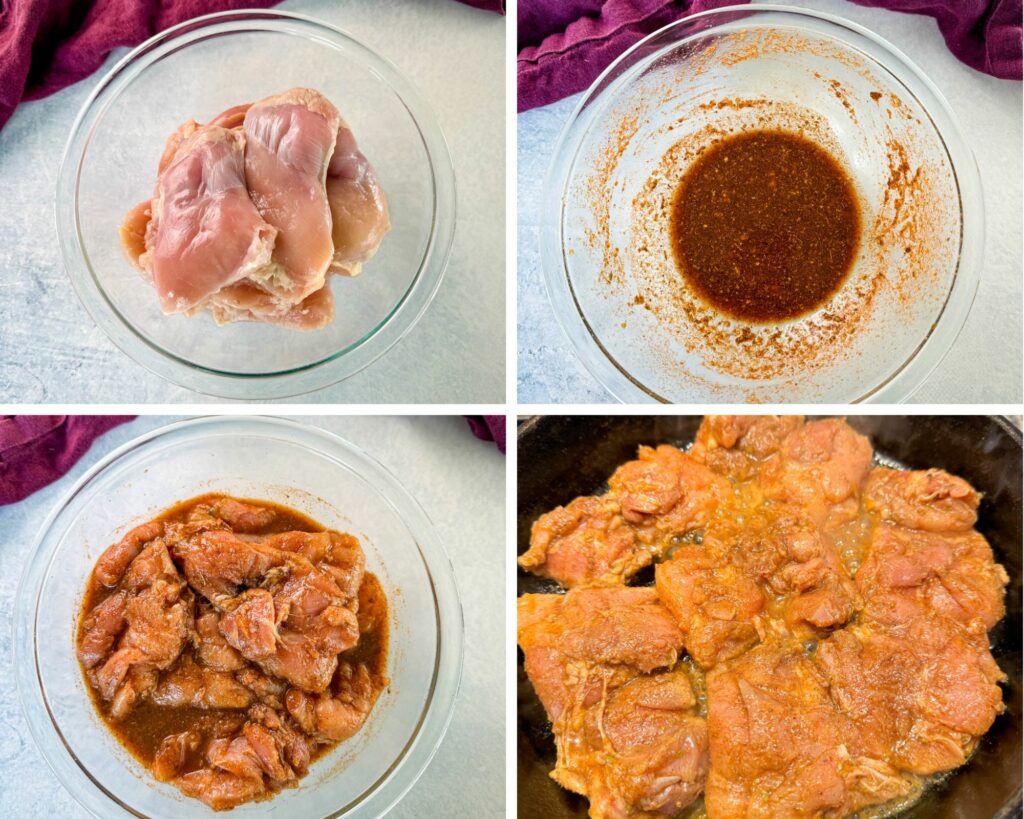
What Type of Chicken to Use
Dark meat is typically used for jerk chicken, but you can use whatever you like. Dark meat (thighs and drumsticks) has a richer, juicier flavor compared to white meat like chicken breasts. The fat content in these cuts helps retain moisture during the cooking process, ensuring the chicken doesn't dry out.
A lot of recipes will also use bone-in meat because the bone in these cuts helps to add extra flavor during cooking, as the marrow releases juices that infuse the meat with a deeper taste. In traditional Jamaican cooking, jerk chicken is often made with bone-in, skin-on pieces, as this is what was historically available and used.
I use boneless thighs to save time and it's still a great tasting dish!
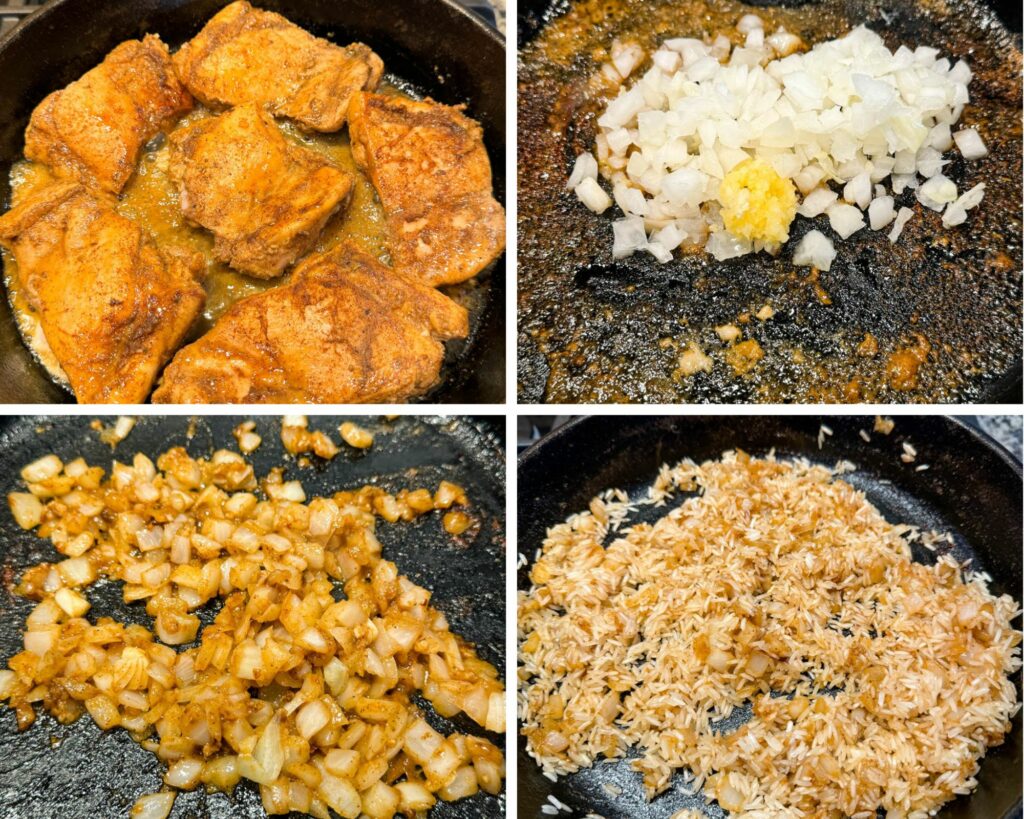
How to Make Jerk Chicken and Rice
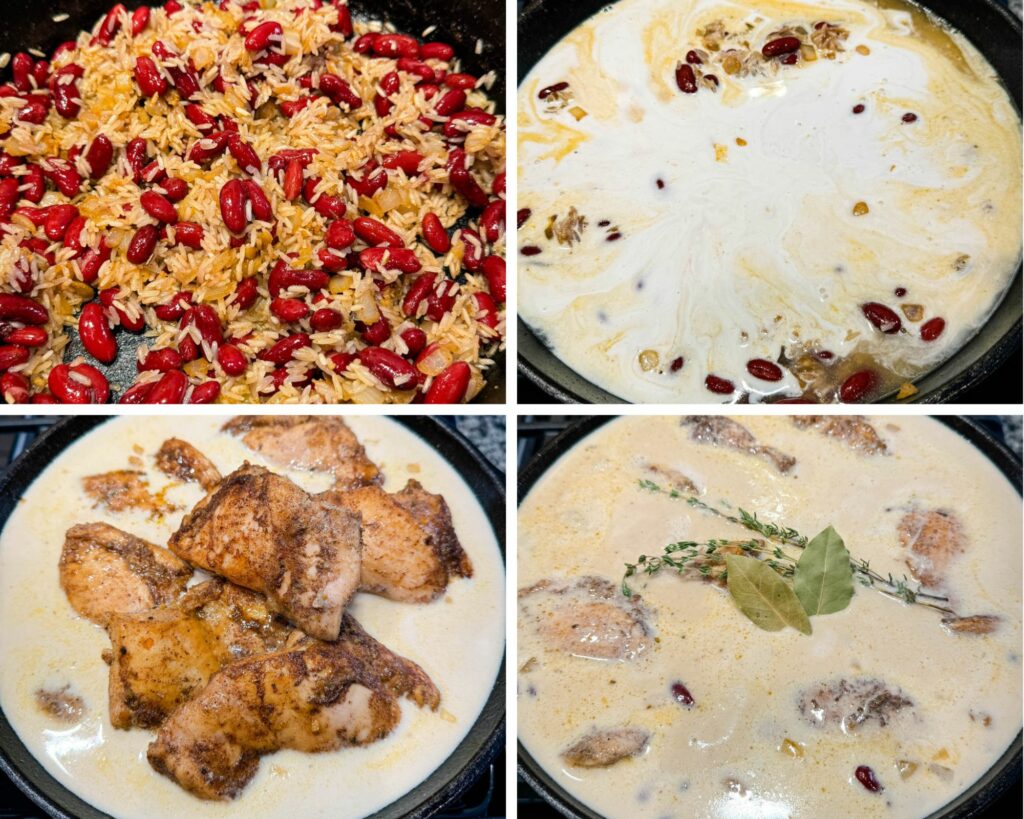
- Drizzle the jerk marinade over the chicken thighs. Marinate.
- Place a Dutch oven or deep skillet on the stove at medium-high heat. Add the chicken. Cook for a few minutes on each side to sear both sides.
- Remove the chicken and set it aside. Add onions and garlic to the pan. Cook for a few minutes until the onions and garlic are translucent and fragrant.
- Sprinkle the rice and drained beans into the pan. Stir to coat the rice with the flavors from the pan and the onions and garlic.
- Pour in the coconut milk, add the seared chicken, thyme, and bay leaves. Stir.
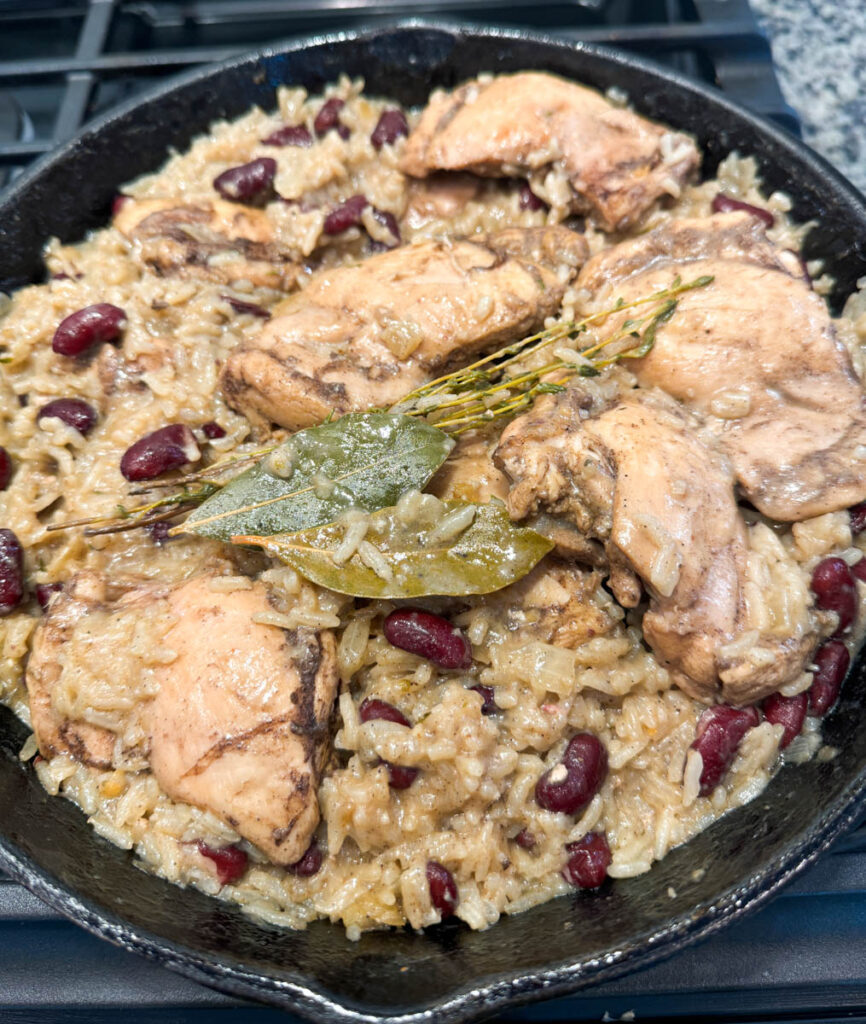
- Place the lid on the pot/pan and adjust the heat to low. Simmer.
- Remove the lid and remove the bay leaves and fresh thyme.
- Cool before serving.
How to Season the Chicken
You can use a store-bought jerk seasoning or rub or make your own following my instructions. Do what works best for you. Scroll to the recipe card for instructions.
I like to season the dish using a combination of the following:
- Cinnamon
- Allspice
- Nutmeg
- Brown Sugar or Sweetener
- Pineapple Juice
- Soy Sauce
- Garlic Powder
- Onion Powder
- Thyme
- Ginger
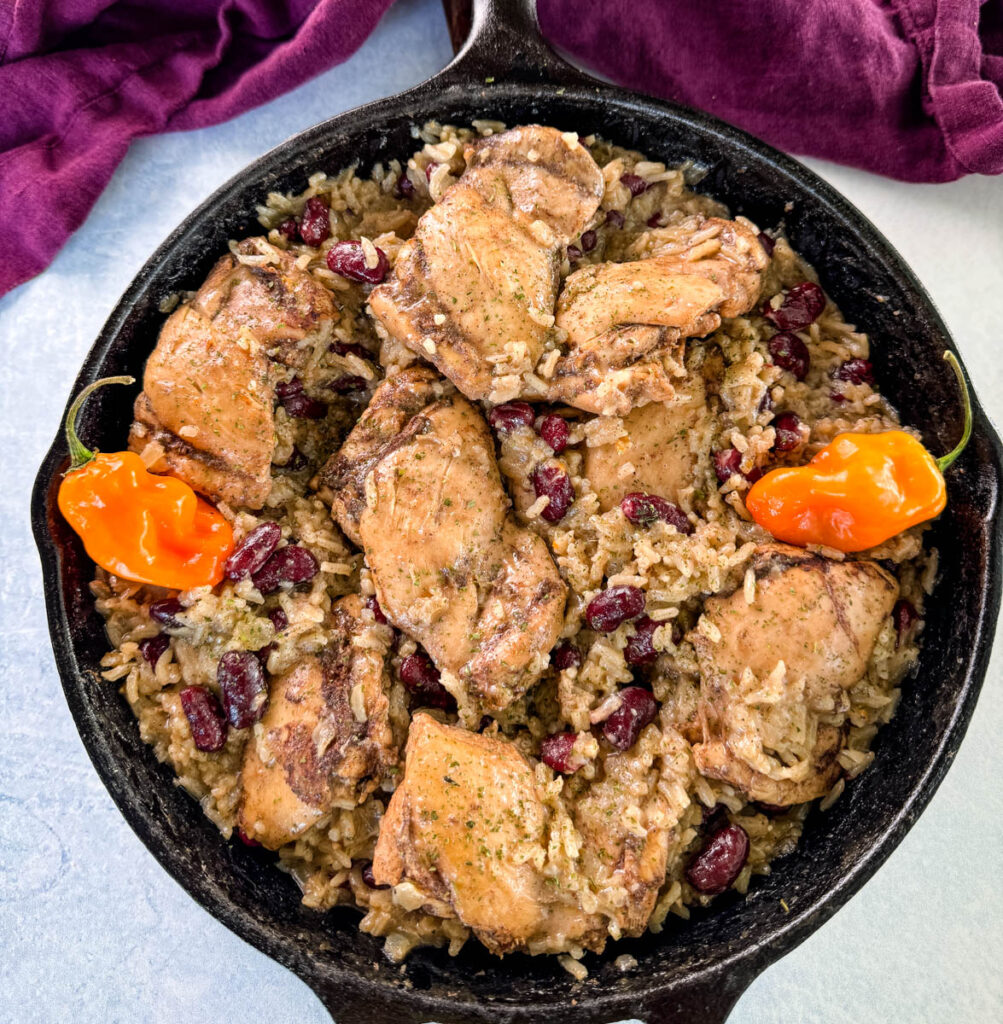
- Scotch Bonnet Pepper or Habanero Pepper
- Lime Juice
Do You Have to Marinate It?
If you skip the marinating step altogether, the jerk seasoning will stay mostly on the surface, and the chicken won’t absorb much of the spice and flavor. The exterior might still be tasty, but the interior will lack the same level of richness and complexity.
- Flavor Penetration: The jerk seasoning blend, which includes powerful ingredients like allspice, Scotch bonnet peppers, thyme, and garlic, needs time to penetrate the meat for maximum flavor. The longer the chicken marinates, the more these bold flavors infuse into the meat, making it taste richer and more complex.
- Tenderization: Marinating helps tenderize the chicken, especially when using acidic ingredients like lime juice or vinegar in the jerk marinade. These acids help break down the muscle fibers in the chicken, making it more tender and juicy when cooked.
In general, if you have at least 30 minutes to spare, that is better than nothing. For best results marinate anywhere from 2 hours to overnight.
Want to save this recipe for later?
What Type of Pot or Pan to Use
Detailed measurements and full instructions can be found in the recipe card at the bottom of this post.
When making jerk chicken and rice in the same pot, it's important to use a pan or pot that distributes heat evenly and has enough space to cook both the chicken and rice without overcrowding. Here are the best options:
- Dutch Oven: A Dutch oven is perfect for one-pot dishes because it’s heavy, retains heat well, and distributes heat evenly. It can go from stovetop to oven, making it versatile for searing the chicken first, then simmering the rice. Its high sides prevent spills, and the heavy lid helps trap moisture. A 5-7 quart Dutch oven works well for cooking multiple chicken thighs with enough room for the rice to cook evenly.
- Cast Iron Skillet with Lid: If you’re looking for crispy chicken skin, a cast iron skillet is excellent for searing. With a lid, it allows for finishing the dish with the rice on the stovetop or in the oven. It also holds heat well. I use a 10 inch, but it is a snug fit! A 12-inch cast iron skillet is more ideal for holding both chicken and rice.
- Deep Saute Pan (with Lid): A deep sauté pan offers a large, flat cooking surface for browning chicken and enough depth to cook rice with plenty of liquid. A tight-fitting lid helps steam the rice while the chicken continues to cook. A 3-4 quart sauté pan with high sides works well for one-pot recipes like this.
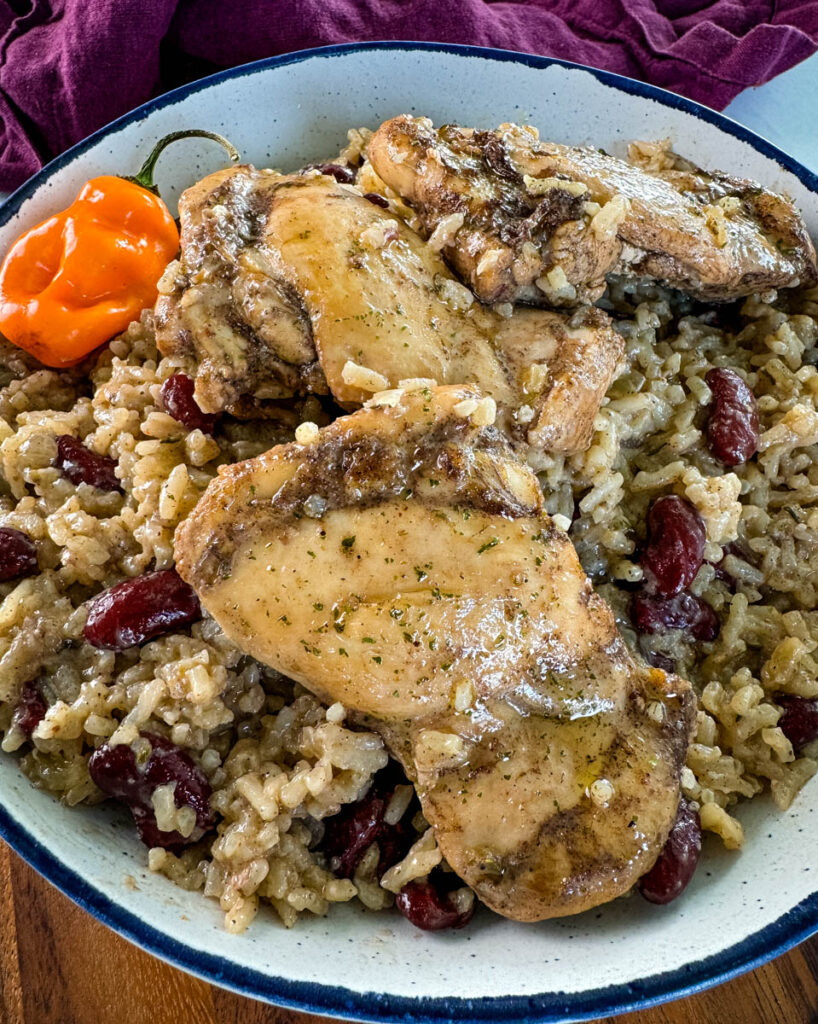
Can You Make Jerk Chicken Without Scotch Bonnet Peppers?
Yes, you can substitute Scotch bonnet peppers with habanero peppers or use milder peppers like jalapeños if you wish.
Can You Use Brown Rice
Yes, you can use brown rice, but it will have a chewier texture and may take longer to cook. You will need to adjust the liquid and cooking time. Refer to the instructions on the package of rice you purchase for cook times and liquid ratios.
How to Avoid Mushy Rice
Overcooked rice is the most common culprit for mushy texture. Check in on the rice while it cooks to prevent it from getting overdone. Here are more tips:
- Rinse the Rice: Rinsing rice in cold water removes excess surface starch, which can make the rice sticky and mushy. Place the rice in a fine mesh strainer or bowl and rinse until the water runs clear.
- Cook the Rice on Low Heat: After bringing the water to a boil, reduce the heat to low and cover the pot with a tight-fitting lid. This allows the rice to cook gently, absorbing water evenly without becoming overcooked or mushy.
- Use a Lid to Trap Steam: Keep the lid on throughout the cooking process to trap steam, which is essential for properly cooking rice. If too much steam escapes, the rice won’t cook evenly and could become sticky or mushy in some areas.
- Let the Rice Rest After Cooking: Once the rice is done cooking, remove the pot from heat and let it sit, covered, for about 5 minutes. This resting period allows the rice to finish steaming and absorb any remaining moisture without becoming overcooked.
- Fluff the Rice with a Fork: After resting, gently fluff the rice with a fork to separate the grains. Using a spoon can mash the rice and cause it to become sticky or mushy.
Substitution and Add-Ins Ideas
- Grilled or Seared Vegetables
- Pineapples
- Mango Salsa
- Cilantro
- Plantains
- Avocado
- Hot Sauce
- Bell Peppers
How to Store
Store leftovers tightly covered and sealed in the fridge for 3-4 days.
How to Reheat
In the microwave: Add a tablespoon of water or broth to the rice before microwaving to prevent it from drying out. Cover and heat for 1-2 minutes, stirring halfway through.
On the stovetop: Heat the rice in a pan with a splash of water or coconut milk on low heat, stirring occasionally until warm.
Avoid reheating rice multiple times to prevent it from becoming hard or losing flavor.
Freezer Tips
You can freeze the chicken and rice for up to 3 months (for optimal quality). Defrost in the fridge overnight.
Pair With These Recipes
Southern Cornbread Recipe
Soul Food Sweet Potato Cornbread
Fried Cornbread
Fried Potatoes and Onions
Sauteed Collard Greens
Chicken Snack Wrap Recipe
More Jerk Recipes
Jerk Chicken Thighs
Jerk Shrimp
Jerk Marinade
One-Pot Jerk Chicken and Rice
Want to save this recipe for later?
Equipment
Ingredients
- 1 ½ - 2 pounds chicken thighs I used boneless. See notes for bone in.
- ½ cup diced onions
- 3-4 garlic cloves Minced
- 1 cup rice
- 15.5 oz canned kidney beans Red beans; drained.
- 15.5 oz canned coconut milk Full fat
- 2 bay leaves
- 1-2 sprigs fresh thyme
Jerk Rub and Marinade (You can also use a store-bought version if you wish.)
- 1 teaspoon ground cinnamon
- 1 teaspoon ground allspice
- ½ teaspoon nutmeg
- 1 tablespoon brown sugar or sweetener
- ½ teaspoon smoked paprika
- ½ teaspoon garlic powder
- ½ teaspoon dried thyme
- ½ teaspoon onion powder
- salt and pepper to taste
- 1 habanero (diced into small pieces) Authentic Jerk uses scotch bonnet peppers. If you have access to these feel free to use them. Habanero is a close substitute.
- ¼ cup pineapple juice
- 1 tablespoon soy sauce
- 1 tablespoon fresh lime juice
- 1 teaspoon fresh ginger or ginger paste
Instructions
- Combine all of the ingredients for marinade and drizzle it over the chicken thighs. You can place the chicken in a bowl or resealable bag. In general, if you have at least 30 minutes to spare, that is better than nothing. For best results marinate anywhere from 2 hours to overnight.
- Place a Dutch oven or deep skillet on the stove at medium heat. Add the chicken. Cook for a few minutes on each side to sear both sides.
- Remove the chicken and set it aside. Add the onions and garlic to the pan. Cook for a few minutes until the onions and garlic are translucent and fragrant.
- Sprinkle the rice and drained beans into the pan. Stir to coat the rice with the flavors from the pan and the onions and garlic.
- Pour in the coconut milk, add the seared chicken, thyme, and bay leaves. Stir.
- Place the lid on the pot/pan and adjust the heat to low. Simmer for 15-20 minutes until the liquid is fully absorbed and the rice is fluffy. Stir every 5 minutes to prevent the rice from sticking to the bottom of the pan.
- Remove the lid and remove the bay leaves and fresh thyme.
- Cool before serving.
Notes
- Rinse the Rice: Rinsing rice in cold water removes excess surface starch, which can make the rice sticky and mushy. Place the rice in a fine mesh strainer or bowl and rinse until the water runs clear.
- Cook the Rice on Low Heat: After bringing the water to a boil, reduce the heat to low and cover the pot with a tight-fitting lid. This allows the rice to cook gently, absorbing water evenly without becoming overcooked or mushy.
- Use a Lid to Trap Steam: Keep the lid on throughout the cooking process to trap steam, which is essential for properly cooking rice. If too much steam escapes, the rice won’t cook evenly and could become sticky or mushy in some areas.
- Let the Rice Rest After Cooking: Once the rice is done cooking, remove the pot from heat and let it sit, covered, for about 5 minutes. This resting period allows the rice to finish steaming and absorb any remaining moisture without becoming overcooked.
- Fluff the Rice with a Fork: After resting, gently fluff the rice with a fork to separate the grains. Using a spoon can mash the rice and cause it to become sticky or mushy.
Nutrition
Nutrition Data
Macros are provided as a courtesy and should not be construed as a guarantee. This information is calculated using MyFitnessPal.com. To obtain the most accurate nutritional information in a given recipe, you should calculate the nutritional information with the actual ingredients used in your recipe, using your preferred nutrition calculator. You are solely responsible for ensuring that any nutritional information provided is accurate, complete, and useful.




Leah says
You did your thing with this one, girl! So good.
staysnatched says
I'm glad you enjoyed it!