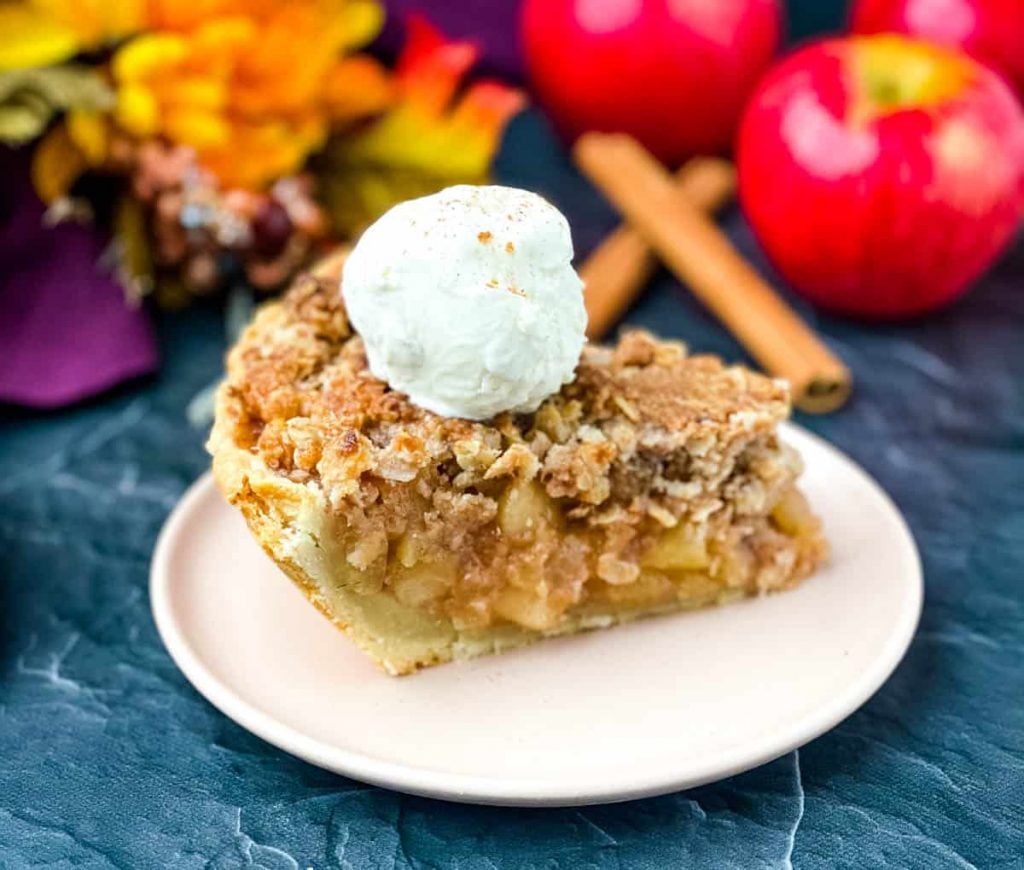
This Sugar-Free Apple Pie is homemade from scratch and the perfect dessert for any occasion. The filling is loaded with honey crisp apples and cinnamon and served on a buttery flaky crust. Top it with vanilla ice cream for a delicious treat!
Want to save this recipe for later?
This post contains affiliate links. Please read my full disclosure here.
Chocolate chip cookies and apple pie are America's favorite desserts. This version is low-sugar and made with no artificial sweeteners.
I lightened up this dish a ton by making a homemade crust from scratch using almond flour. Instead of refined sugar, I use natural sweeteners with no artificial ingredients.
This recipe does include butter. You can decide if the use of butter is healthy or not for you. You can try using oils like coconut or avocado oil if you wish.
This recipe will save you 316 calories and 45 grams of carbs per serving in comparison to the standard recipe I have eaten all of my life.
Table of Contents
What Type of Apples to Use
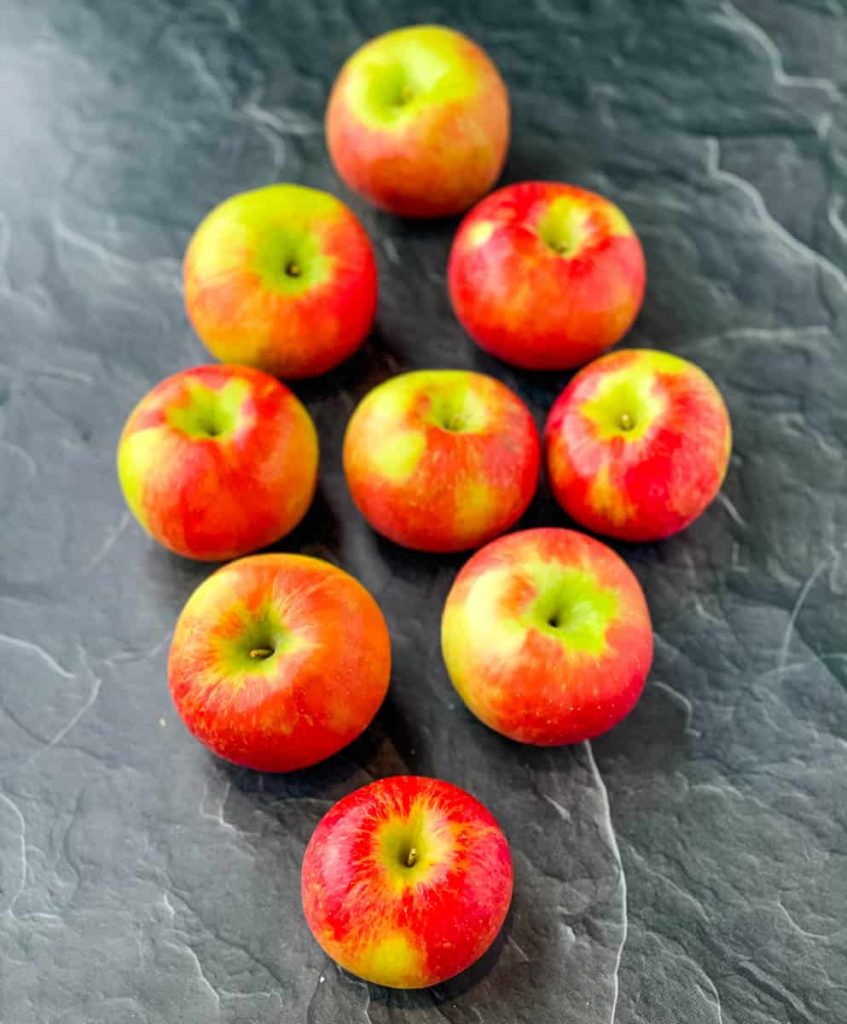
I like to use honey crisp apples. Honey crisp are sweet, with just a little tartness, and are also crisp. Typically, the best apples to use are also Granny Smith, pink lady, or golden delicious.
You want apples that aren't going to mush while baking and while prepping the filling. Pick something that is firm so the fruit can maintain it's shape and keep your slices of pie intact.
What Type of Crust to Use
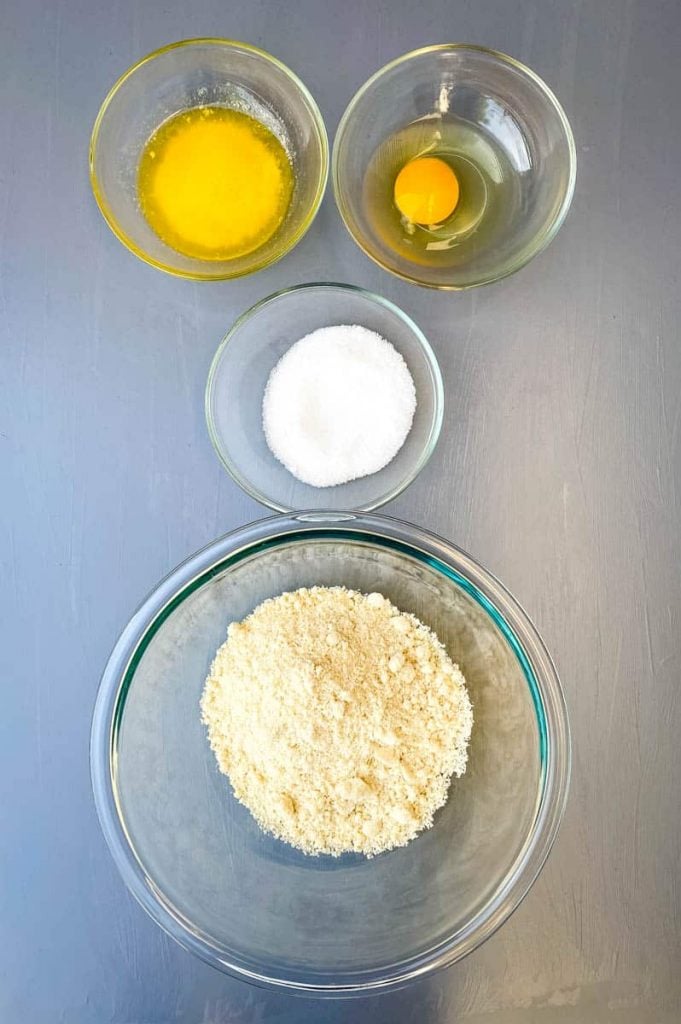
I like to use an almond flour crust. I also don't prefer a double crust pie. I know, I may be alone in that! I love a crumble topping, similar to a Dutch apple pie. It's EASIER! The process is a lot simpler and there's less pressure to make the pie look perfect on the top.
Typically, a Dutch topping is streusel and made of butter, flour, and sugar baked on top. I use almond flour, rolled oats, cinnamon, sweetener, and butter.
See below for tips on making a double crust.
Store Bought Pie Crust
Using frozen, store-bought crust will save you a lot of time in this recipe. I haven’t seen a low carb crust in stores, so if you go this route, the macros and nutrition in this recipe will vary greatly. I have seen a gluten free crust at Trader Joe's so you can check there.
You can also use boxed crusts if you wish.
What Type of Sweetener to Use
Growing up, I have always made apple pie with a mix of light brown sugar and white granulated sugar. You can totally make this using just white sugar or sweetener if you wish.
To lighten up this recipe, I use golden monkfruit sweetener (to substitute light brown sugar) and granular monkfruit sweetener (to substitute white sugar). These sweeteners are natural, zero-calorie, zero-carb, and won’t spike blood sugar.
If you use something like stevia, you can follow the standard method you use for converting refined sugar to stevia. Monkfruit sweetener measures 1:1 like refined sugar.
If you wish to use pure, organic maple syrup, use ½ cup.
How to Make Sugar-Free Apple Pie Filling
Detailed measurements and full instructions can be found in the recipe card at the bottom of this post.
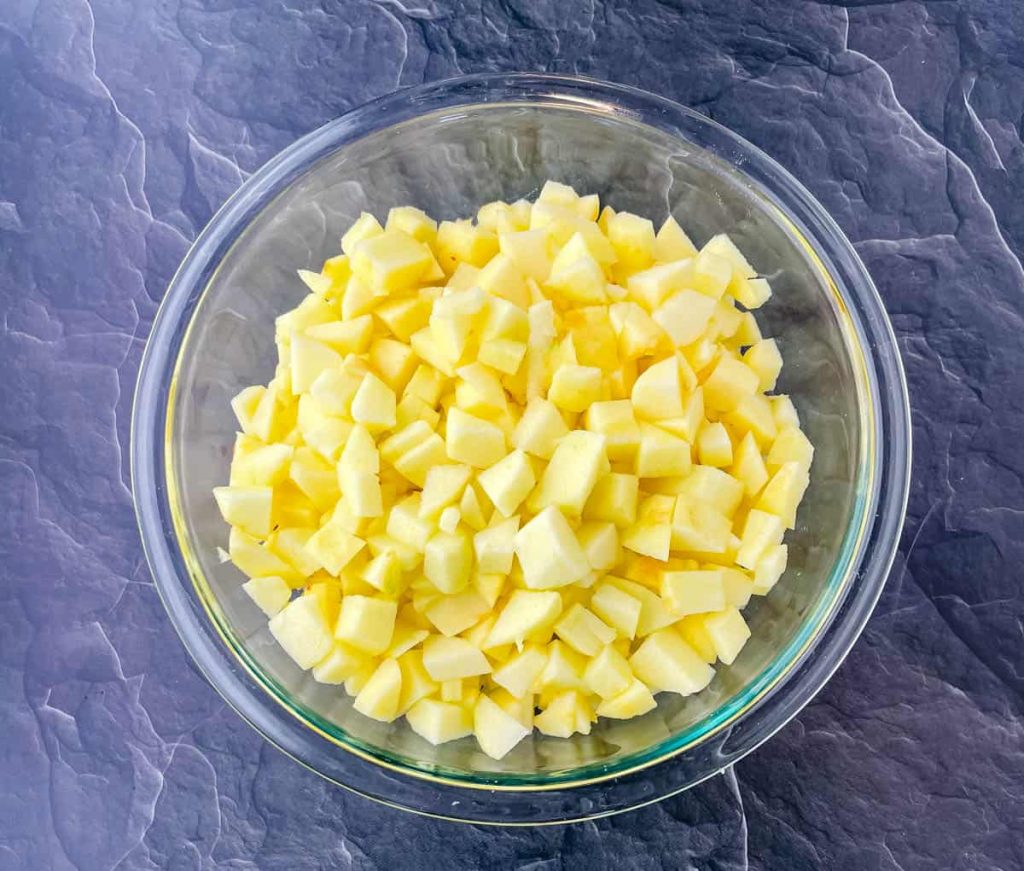
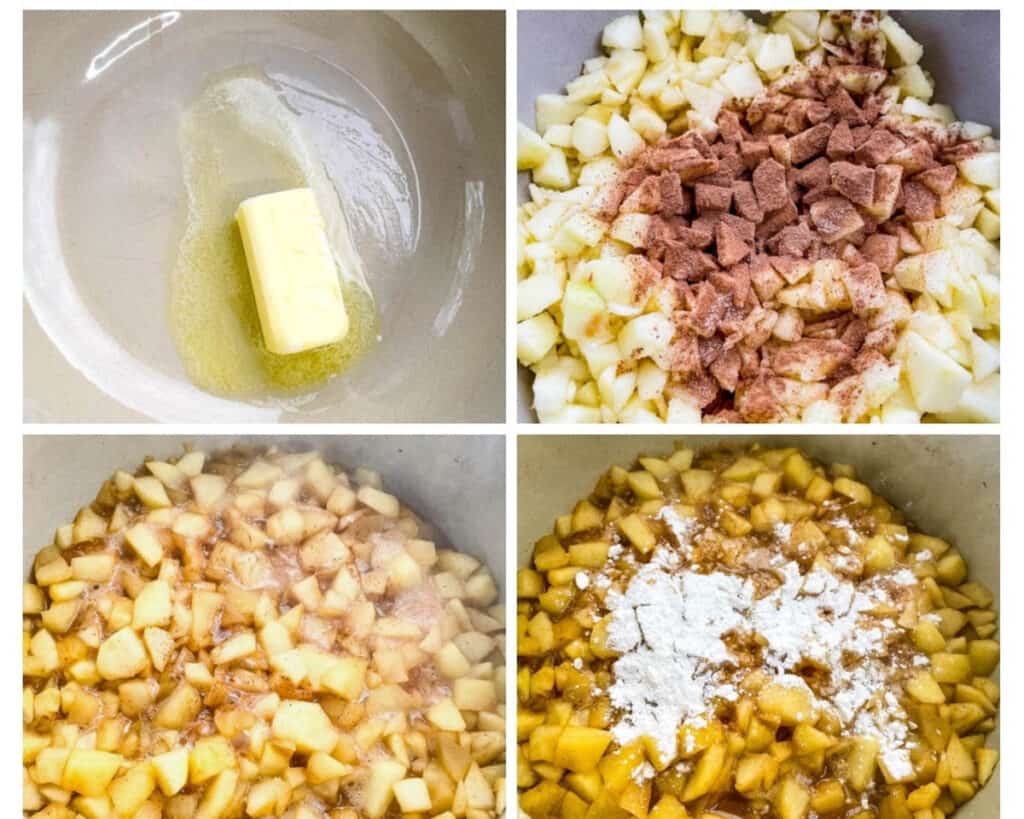
- Add sliced apples to a large bowl along with lemon juice, sweetener, and golden sweetener.
- Heat a large pot on medium-high heat and add the butter.
- When the butter has melted, add the apples, cinnamon, and nutmeg. Stir for 2-3 minutes until the sweetener melts.
- Cover and reduce heat to medium-low.
- Uncover the mixture and add the cornstarch. Stir.
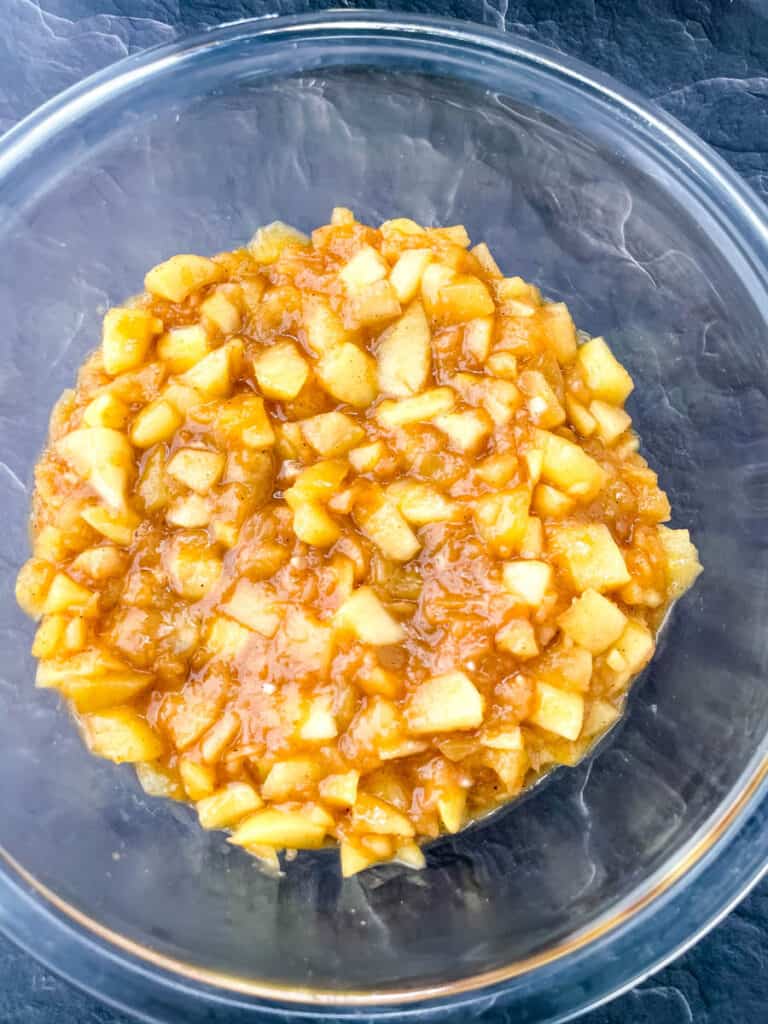
- Add the filling to a bowl and refrigerate.
How to Make it With Double Crust (Crust on Top)
If you want a double crust topping, double the recipe for the pie crust (buy two if using store bought) and cover your pie with the crust after the filling is added. Use a thin knife and a slice a few vents in the center of the pie.
How to Thicken the Filling and Prevent it From Being Runny
I like to use cornstarch in this recipe. It has not failed me. One thing to be cautious of, is runny filling that seeps into the crust of your pie, before the crust has set and starts to brown. With an almond flour crust, we bake it for a little bit on it's own first which will help with this.
But you will also need to ensure your filling is thick. I like to cook the apples on the stove first to help with this.
If your notice your filling is thin and watery, you can thicken it with additional cornstarch or add the filling to the pie crust using a slotted spoon. This will capture any excess water. You can always spoon some of the glaze into the pie pan after adding the apples.
I never have to do this, but FYI in case you run into issues.
What Type of Pan/Pie Plate to Use
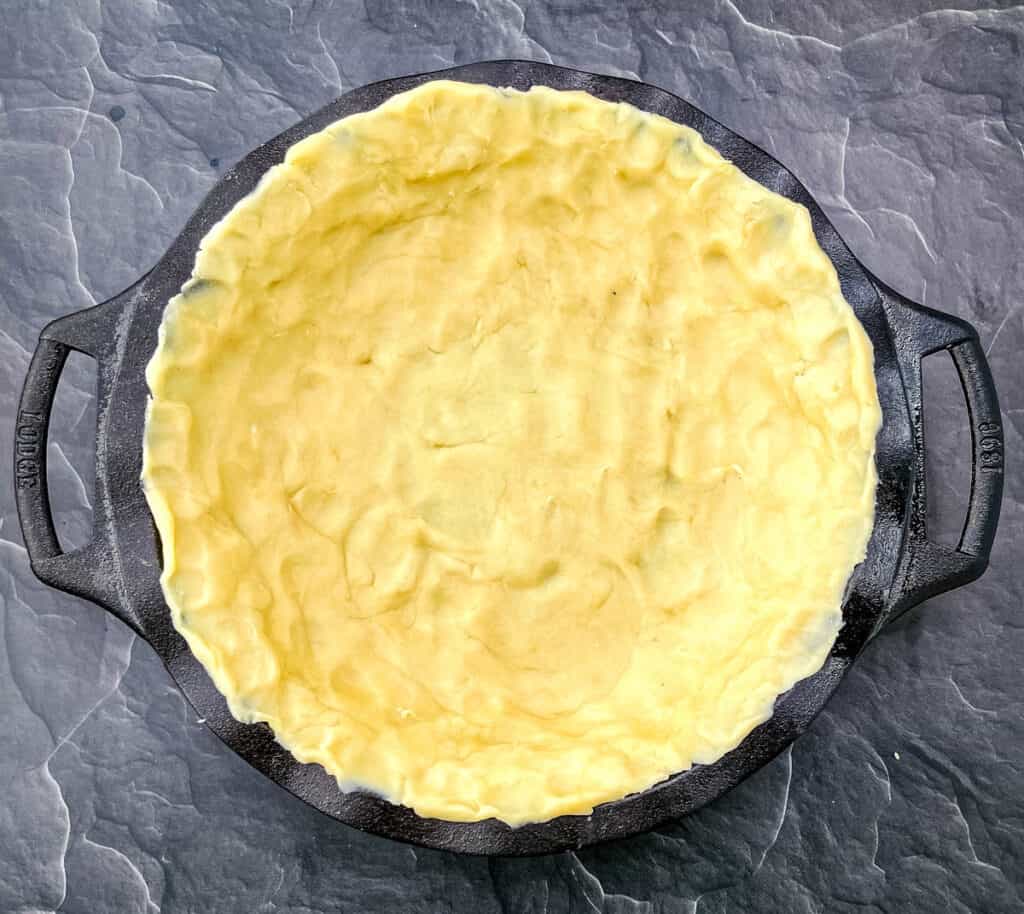
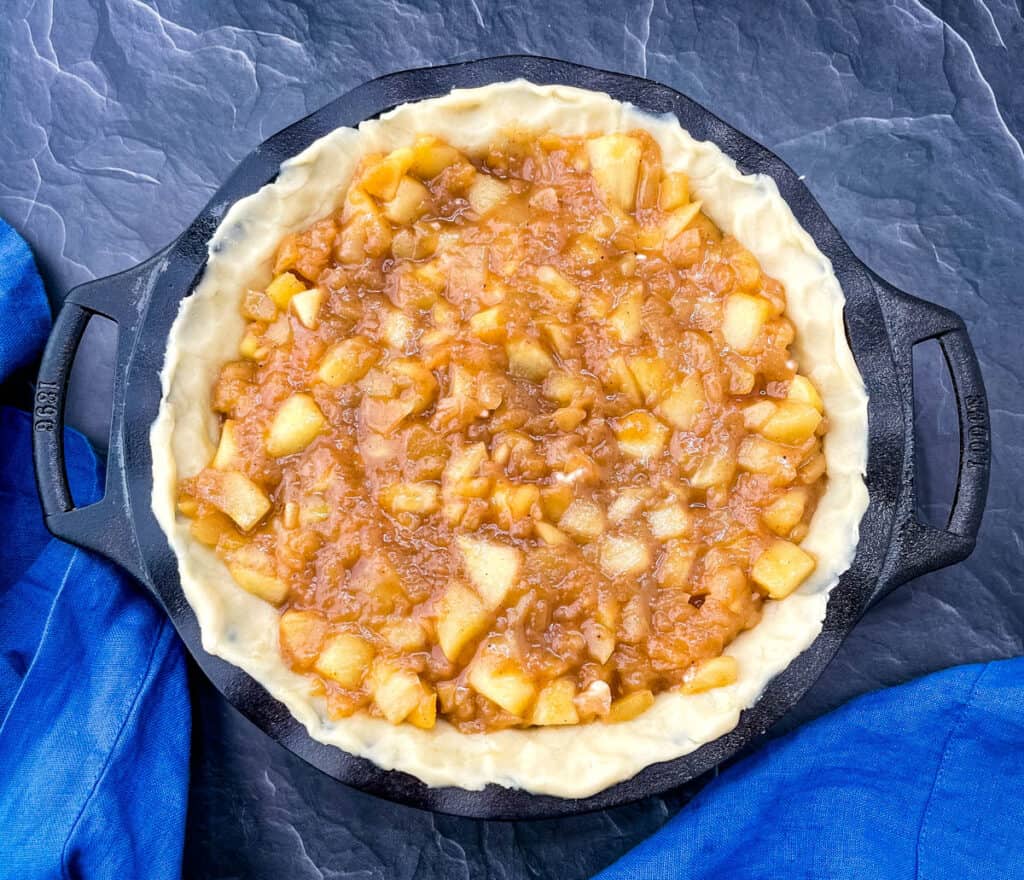
I have grown to love my cast iron pie pan, but you can use any 9-inch pie plate you wish. If you aren't using cast iron, I recommend a glass Pyrex pie plate or a ceramic pie plate. Both of these regulate heat well. The pie plate you choose will determine if your crust browns too quickly.
Glass is the most common and cooks at a slow, steady, and more even rate. This helps with consistent baking and browning.
Although a ceramic pan will regulate heat well, you can't see what's happening inside the dish (like a cast iron). If this bothers you, it's something to consider.
Metal pans brown the crust more quickly because they become hotter in the oven.
You also need to consider the shape of the plate. The ones with straight edges will produce a pie with straight edge crust, unless you crimp the edges yourself.
As you can see there are a lot of factors here that will determine the speed in which your pie bakes. You will have to watch it and take these items into account in order to ensure your pie bakes up nicely!
How to Store the Pie
Fruit pies can be stored at room temperature for up to 2 days. It can be stored in the fridge (covered) for up to 4 days. I like to keep the pie in the original pan it was baked in.
Can You Make it Ahead?
Absolutely. Most people prefer to make pies ahead of time because they take longer to cool than most desserts. Since this is a fruit pie, the cooling time is only a couple of hours, in comparison to a custard-filled/sweet potato/pumpkin pie, that requires several hours to cool.
How Long Will it Last in the Fridge?
It will last up to 4 days.
Freezer Tips
Wrap the pie in plastic wrap or foil. It will last 4-6 months in the freezer. Thaw the pie at room temperature and then reheat in the oven on 350 degrees until warm.
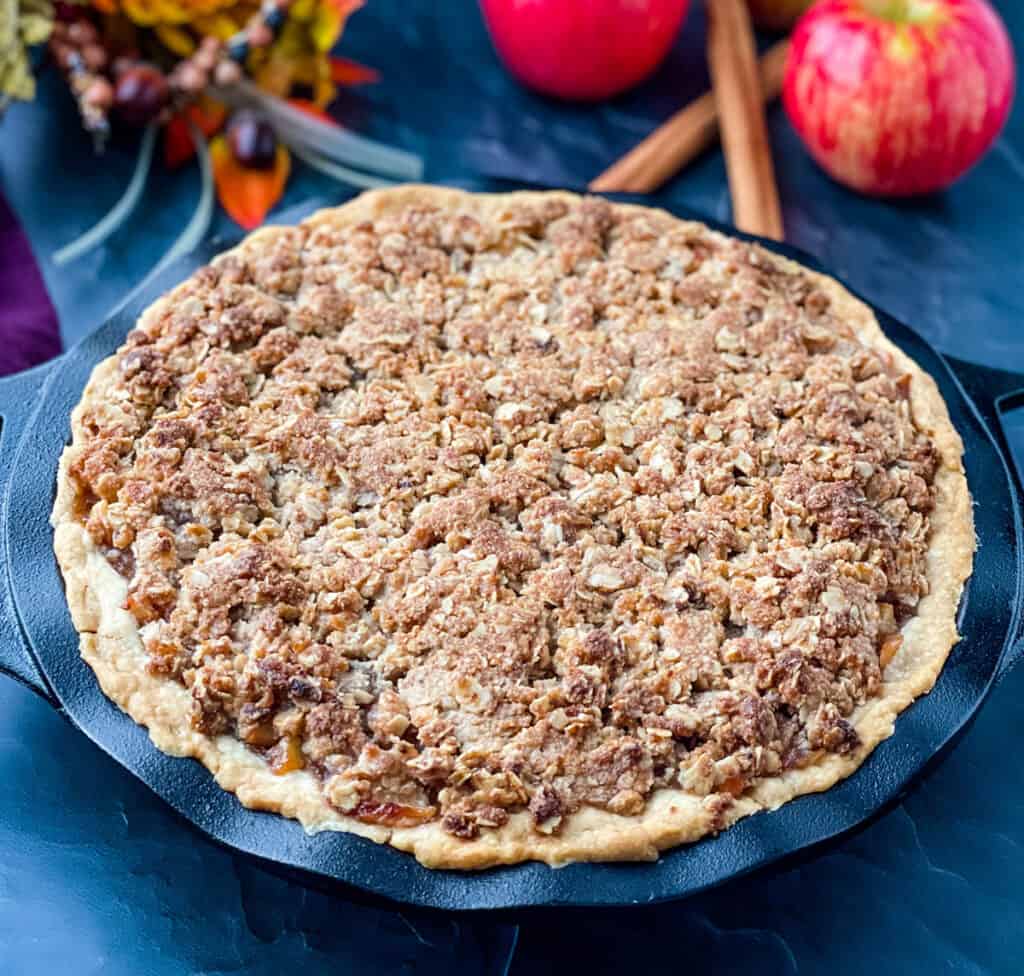
How Many Calories and Carbs in One Slice
Each slice has 462 calories and 25 net carbs.
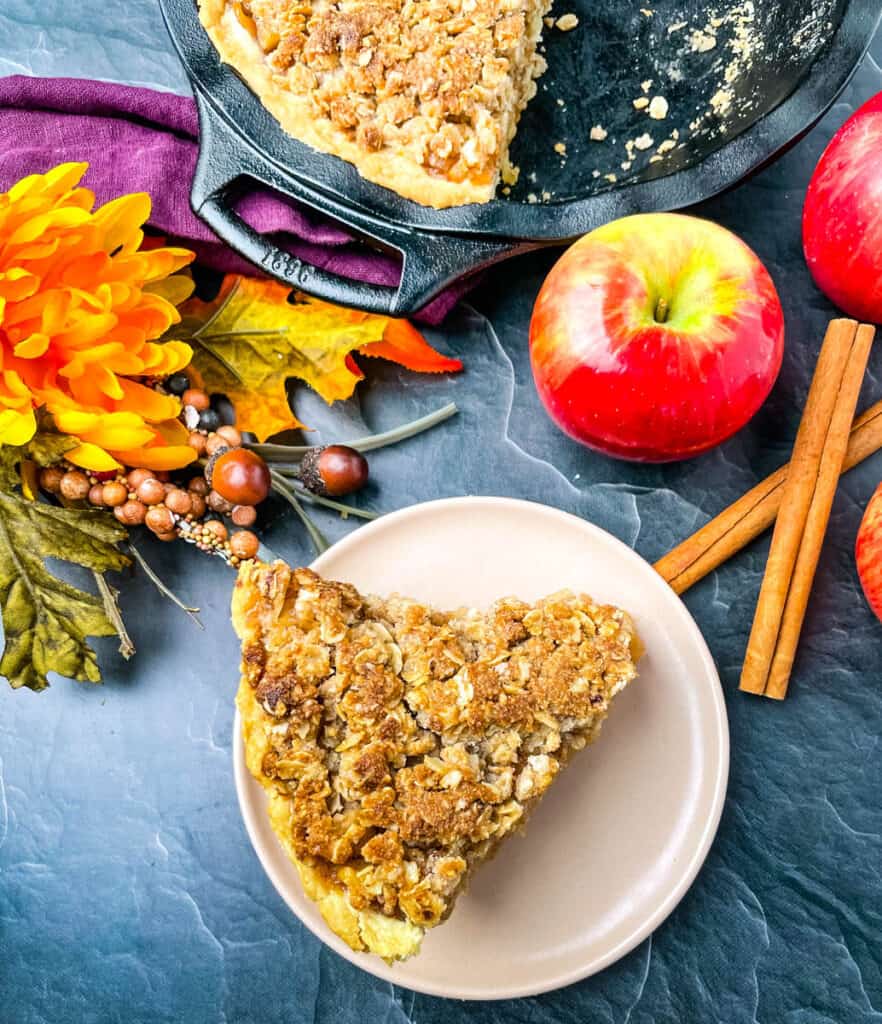
More Pie and Dessert Recipes
Healthy Southern Sweet Potato Pie
Banana Split Pie
Keto Low-Carb Pumpkin Pie
No-Bake Peanut Butter Pie
Healthy Southern Peach Cobbler
Sugar Free Blueberry Crisp
Keto Almond Flour Pie Crust
Keto Low Carb Key Lime Pie
Cinnamon Coffee Cake Muffins
More Apple Recipes
Sugar Free Apple Crisp
Slow Cooker Crockpot Apple Crisp
Slow Cooker Crockpot Apple Oatmeal
Instant Pot Apple Sauce
Instant Pot Apple Cider
Instant Pot Apple Steel Cut Oats
Sugar-Free Apple Butter
Cranberry Sauce with Apples
Caramel Apple Cider
Slow Cooker Crockpot Baked Apples
Southern Fried Apples
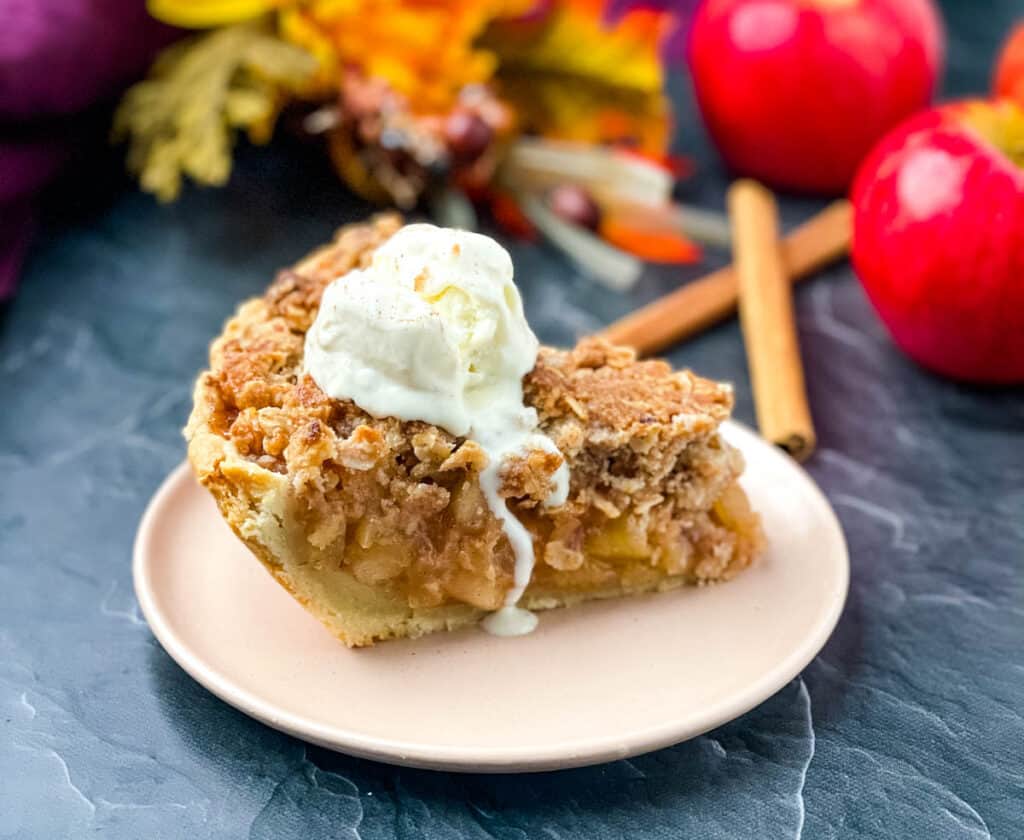
Top this with our Sugar Free Whipped Cream recipe.
Sugar-Free Apple Pie
Want to save this recipe for later?
Ingredients
Almond Flour Crust
- 2 cups blanched almond flour
- ¼ teaspoon salt
- ¼ cup sweetener
- 1 egg
- 3 tablespoons unsalted butter melted
Pie Filling
- 3 pounds Honeycrisp apples Peeled, cored, and thinly sliced or cut into 1 inch cubes.
- ½ cup sweetener
- ¼ cup brown sweetener
- 1 teaspoon fresh lemon juice
- ¼ cup unsalted butter This is 4 tablespoons.
- 1 teaspoon ground cinnamon
- ¼ teaspoon nutmeg
- ¼ teaspoon salt
- 1 tablespoon cornstarch
Crumb Topping
- 1 cup rolled oats
- 1 cup almond flour You can also substitute ¾ cup all-purpose flour.
- ½ cup sweetener
- 1 teaspoon cinnamon
- ½ cup butter melted
Tools
Instructions
Pie Crust
- Preheat oven to 350 degrees.
- Grease a 9.5 inch pie pan with butter.
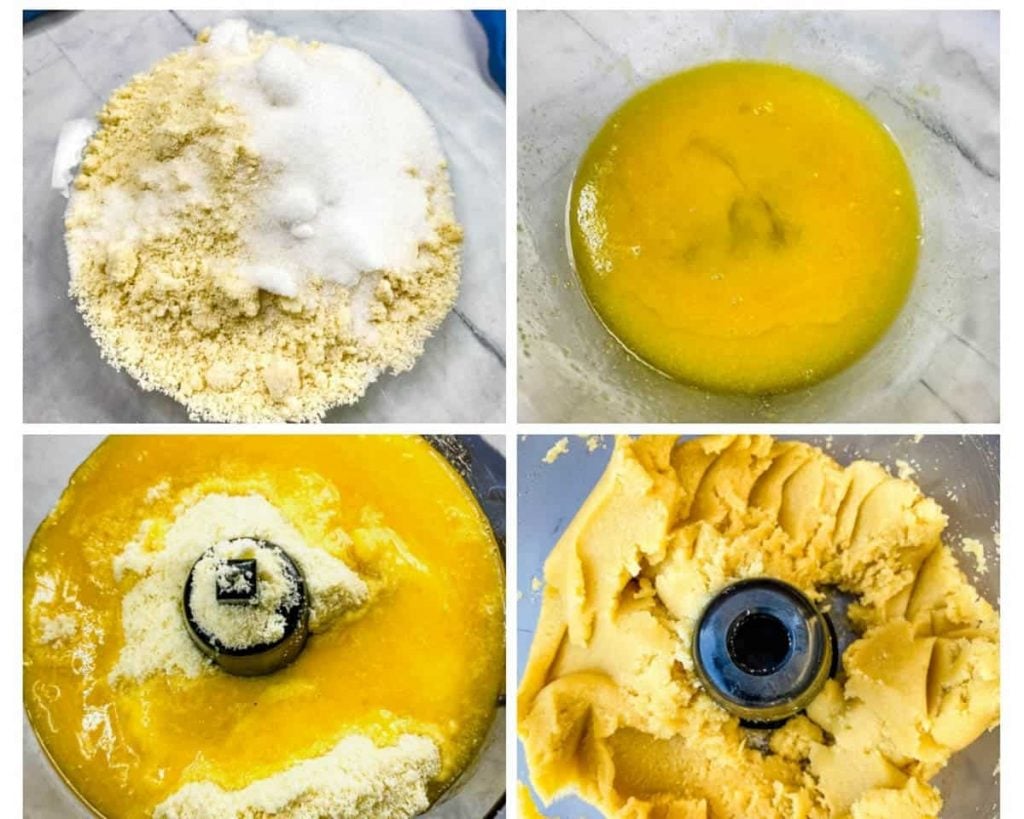
- Add the almond flour, sweetener, and salt (dry ingredients) to a mixing bowl. Stir to combine.
- Add the beaten egg and melted butter (wet ingredients) to a separate bowl and stir.
- Add the dry ingredients to a food processor. Next, pour in the wet ingredients. Manually pulse until the mix is incorporated. You can also combine the dry and wet ingredients in a mixing bowl and mix by hand, but after testing, the best results are using a food processor.
- Press the dough into the greased pie pan. Ensure you press the dough along the edges of the pan to create crust.
- Poke holes in the dough using a fork. Bake for 10 minutes.
- Remove the crust and allow it to cool for 15 minutes, prior to adding the filling.
Filling
- Preheat oven to 350 degrees.
- Add the sliced apples to a large bowl along with the lemon juice, sweetener, and golden sweetener.
- Heat a large pot on medium high heat and add the butter.
- When the butter has melted, add the apples, cinnamon, nutmeg, and salt. Stir for 2-3 minutes until the sweetener melts.
- Cover and reduce heat to medium low. After 3 minutes, give the mixture a stir. Cover it again and simmer for an additional 3-4 minutes.
- Uncover the mixture and add the cornstarch. Stir for 3-5 minutes. The mixture will thicken. Taste your filling repeteadly. Decide if it needs more sweetener, cinnamon, etc.
- Remove the filling and place it in a large bowl. Place it in the refrigerator to cool for 15 minutes. (You can make your crumb topping while it cools)
- Remove the filling from the refrigerator and pour it into the pie plate over the crust.
Crumb Topping
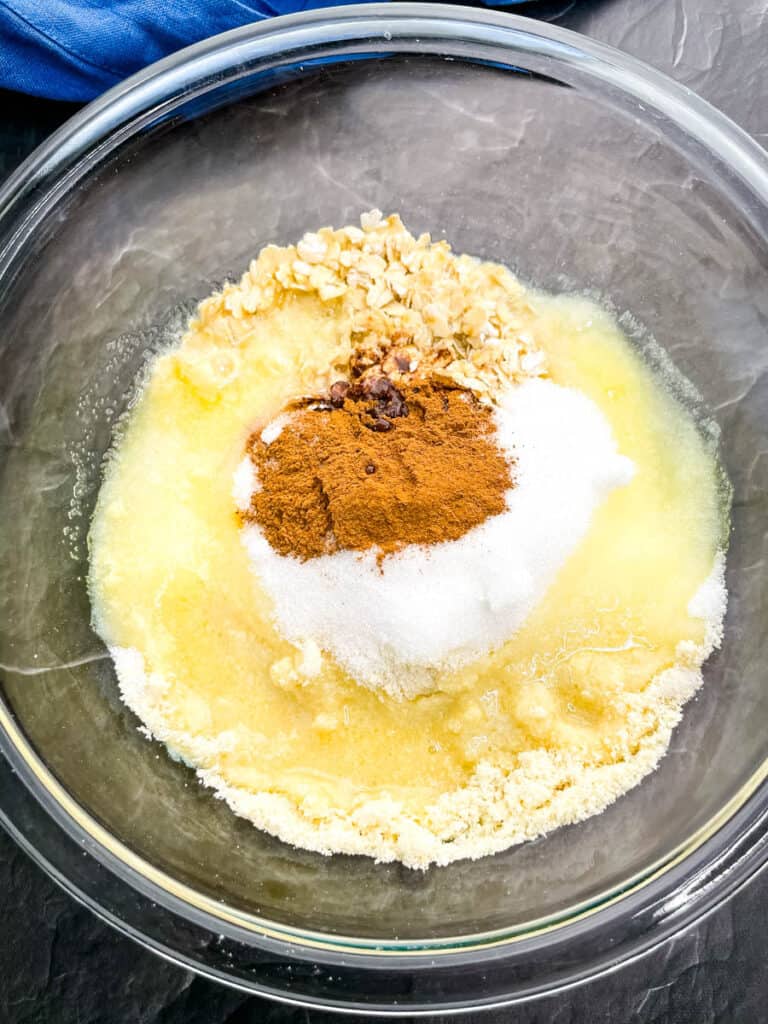
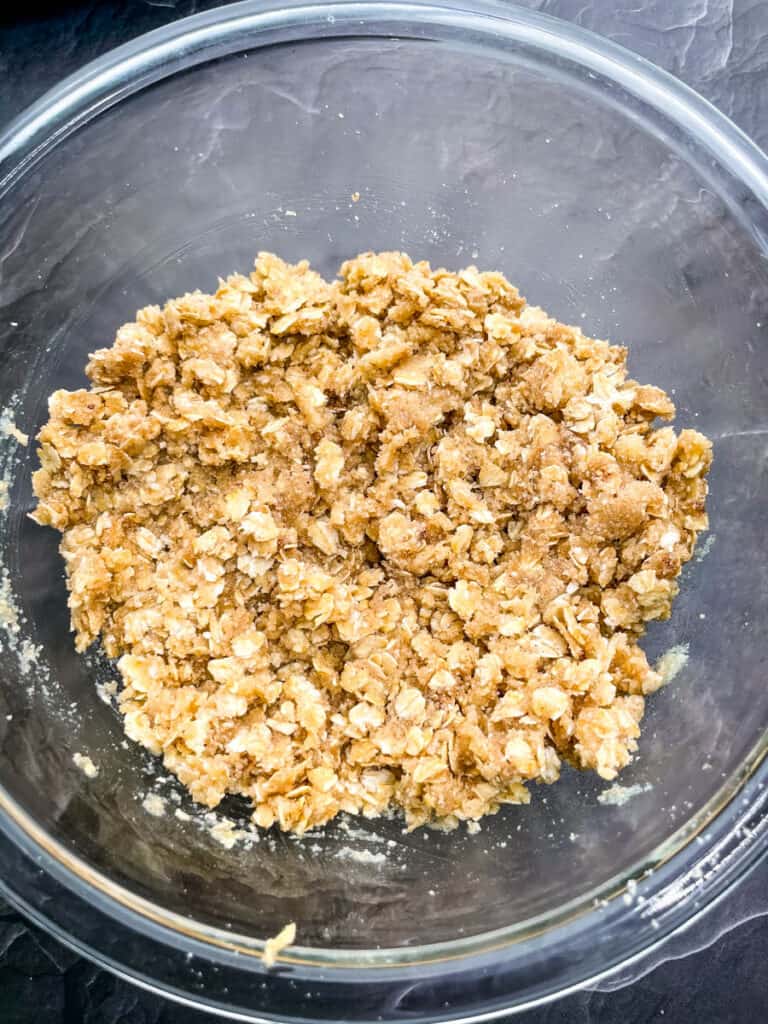
- Combine the ingredients in a medium bowl.
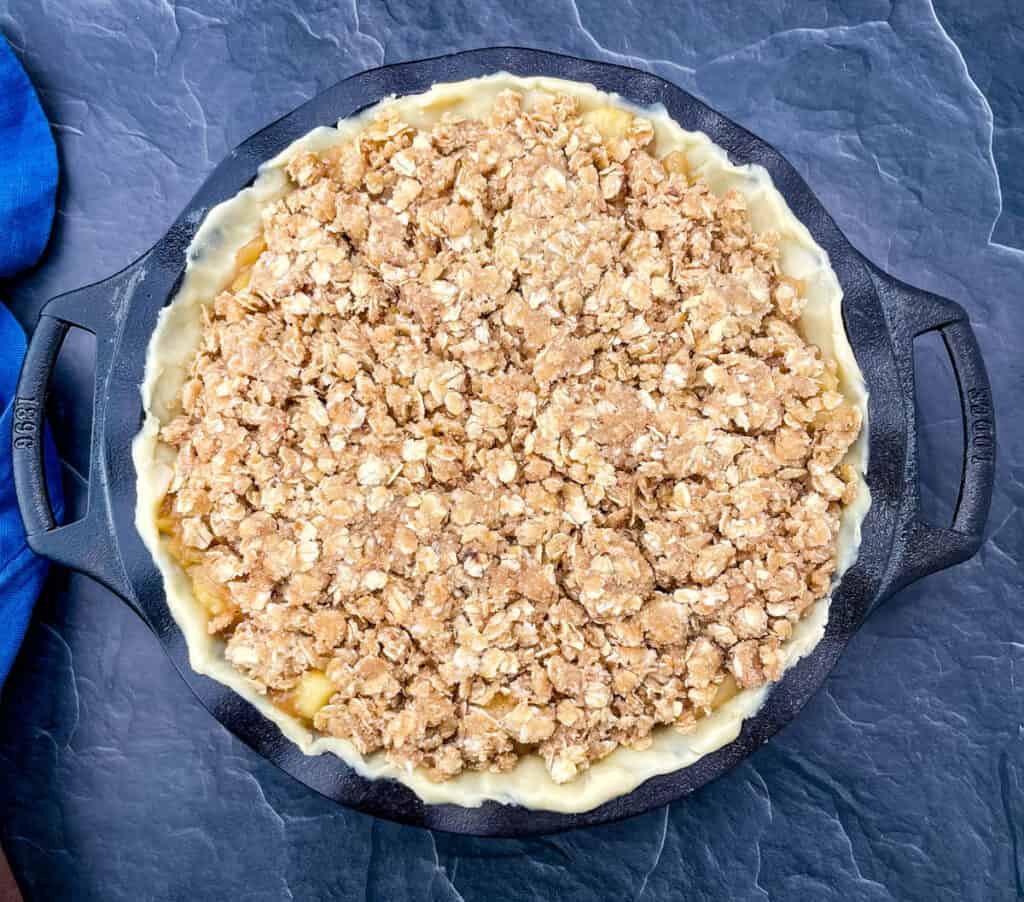
- Load the topping over the filling.
Baking
- Bake for 20-25 minutes until the edges are browned (see notes if using store-bought crust). Be sure to watch the pie. The amount of time the pie needs to bake will depend on the type of pie plate you use (see notes) and how fast your oven bakes.
- You can cover the edges of the crust with a pie shield or foil to protect them from over browning. Bake an additional 5-15 minutes. To test, you can pierce the apple slices with a toothpick. Ensure the apples are soft.
- Remove the pie and cool for at least 2 hours before serving. You want the pie to fully cool. If you slice into it too soon it will fall apart.
Video
Notes
- You can combine the pie crust ingredients by hand. It will take a little longer and can be difficult to incorporate the ingredients to produce a smooth crust. I find this way works best.
- If you want to use standard table sugar in this recipe, you can use the same amounts noted in the recipe. No conversion.
- If you use stevia, you will have to convert the amount to use. Use a standard table sugar conversion to calculate.
- If you wish to use pure, organic maple syrup, use ½ cup. Add more if needed.
- You can substitute coconut oil for butter, it will alter the taste and texture.
- You can use store-bought crust if you wish. That will save some time! Your macros and nutrition facts will vary. If using store bought non almond flour crust, do not bake the crust prior to adding the filling. Simply add the filling and topping. Bake for 10 minutes on 400 degrees. Then reduce the heat to 350 degrees and bake for an additional 35-45 minutes.
- I don't prefer a double crust pie. I love a crumble topping, similar to a Dutch apple pie. It's EASIER! The process is a lot simpler and there's less pressure to make the pie look perfect on the top.
- If you want a double crust topping, double the recipe for the pie crust (buy two if using store bought) and cover your pie with the crust after the filling is added. Use a thin knife and a slice a few vents in the center of the pie.
- I have grown to love my cast iron pie pan, but you can use any 9-inch pie plate you wish. If you aren't using cast iron, I recommend a glass Pyrex pie plate or a ceramic pie plate. Both of these regulate heat well. The pie plate you choose will determine if your crust browns too quickly.
- If your notice your filling is thin and watery, you can thicken it with additional cornstarch or add the filling to the pie crust using a slotted spoon. This will capture any excess water. You can always spoon some of the glaze into the pie pan after adding the apples.
Nutrition
Nutrition Data
Macros are provided as a courtesy and should not be construed as a guarantee. This information is calculated using MyFitnessPal.com. To obtain the most accurate nutritional information in a given recipe, you should calculate the nutritional information with the actual ingredients used in your recipe, using your preferred nutrition calculator. You are solely responsible for ensuring that any nutritional information provided is accurate, complete, and useful.


Karen says
Made this for Thanksgiving and it was a hit. I prefer a fruit crumble, so this is the perfect combo for pie occasions. Mine did bubble over some, so think about putting the pie on a tray or cookie sheet so you don't have to clean the oven after.
staysnatched says
That's a great tip to follow with baking just about anything. Thanks.
Susan says
I made this pie for a friend who has Hashimoto's and must stay sugar and gluten free. I followed the recipe except for substituting potato starch for corn starch. Baked in a 9 inch pyrex pie pan 25 minutes. Turned out picture perfect and was delicious.
staysnatched says
I'm so glad you enjoyed it!
Sharon says
Can I use something else besides oatmeal to make to crumble topping? Such as ground flax seed or phylum husk?
staysnatched says
I've never tried using those. If you do, let me know how it turns out.
Cheryl says
Excellent recipe! Tasted amazing!!
staysnatched says
I'm so glad you enjoyed it!
Sara says
Wow amazing! Topped with no sugar added Bluebell homemade vanilla. Don’t use stevia . Monk fruit is perfect.
staysnatched says
I love that idea!