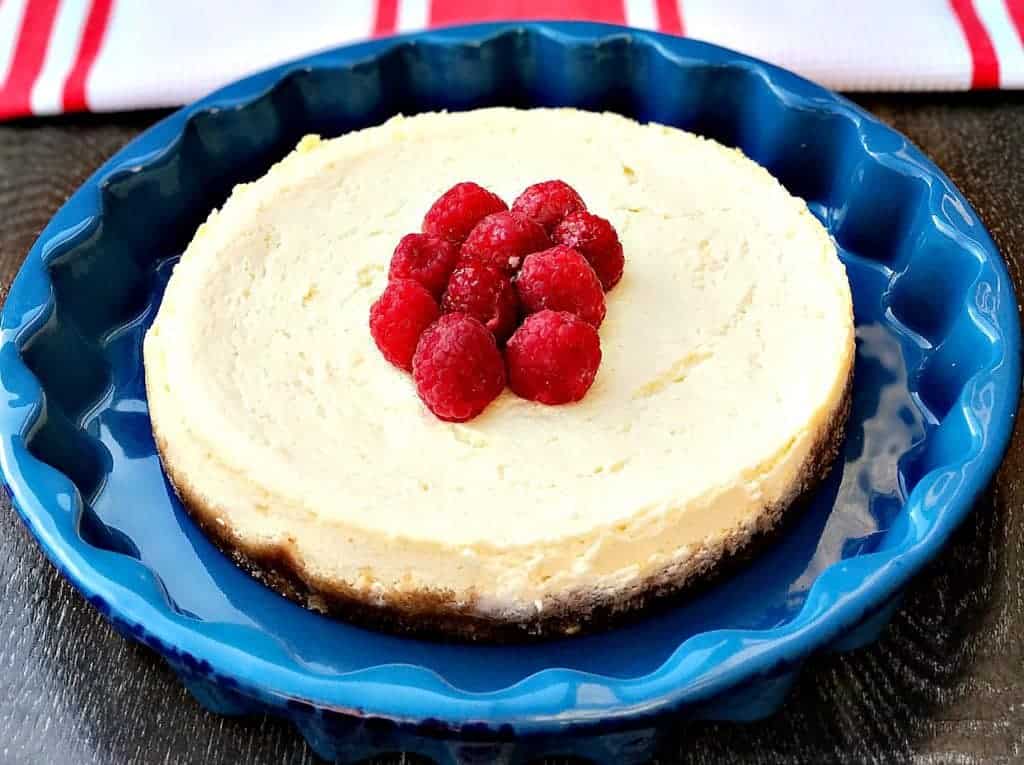
Instant Pot No-Bake Pressure Cooker Cheesecake is an easy recipe to make using a Fat Daddio round cheesecake pan with a removable bottom. This is the perfect healthy, skinny, dessert topped with raspberries. This recipe is quick and easy, perfect for holidays and events.
This post contains affiliate links. Please read my full disclosure here.
Here is the pan I used with the Instant Pot. The bottom of the pan is removable. When the cheesecake is ready, you simply push up on the bottom to remove it.
For those who know me, this Instant Pot no-bake cheesecake may seem like a reach. Desserts are not my specialty. I do not really like most desserts. When I got my new Instant Pot and noticed that I could make cheesecake (and other cakes, too), I was intrigued! You see, cheesecake IS a dessert that I love. I love it because it's not too sweet.
Cream cheese is the main ingredient and I love cream cheese! Cheesecake does not have frosting like most cakes, and it is not laced with overly sugary toppings. Well...it can be! For this recipe, it isn't. I went with good ole fashioned fresh fruit.
Want to save this recipe for later?
For most of my recipes I come up with an idea and then I implement. I "experiment" in the kitchen, but the majority of the time, my recipe comes to fruition and I do not have to re-do them. The only time I have to truly experiment and sometimes re-do a recipe is when I make some desserts. Desserts and baking require very detailed and calculated steps.
You will NEVER hear me call myself an expert in baking. For starters, I do not like most baked goods. No sense in becoming an expert at something that I will not eat! This cheesecake recipe is a great example of an idea that required a make-up session...or two.
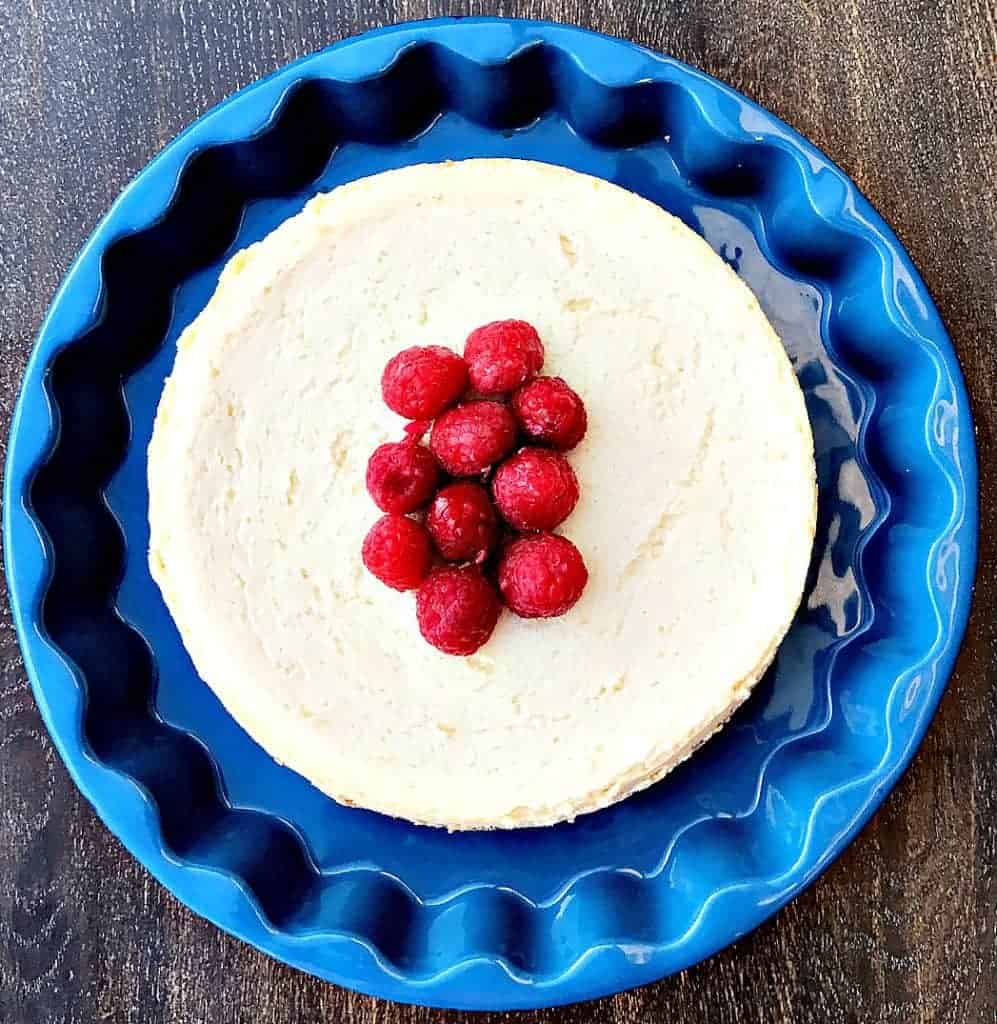
My original recipe used reduced-fat cream cheese instead of regular cream cheese. This may have been a mistake, but I am not sure. I ended up having to make this cheesecake 3 times until I finally got it right. The first recipe I used reduced-fat cream cheese and I only used a ½ cup of graham cracker crumbs.
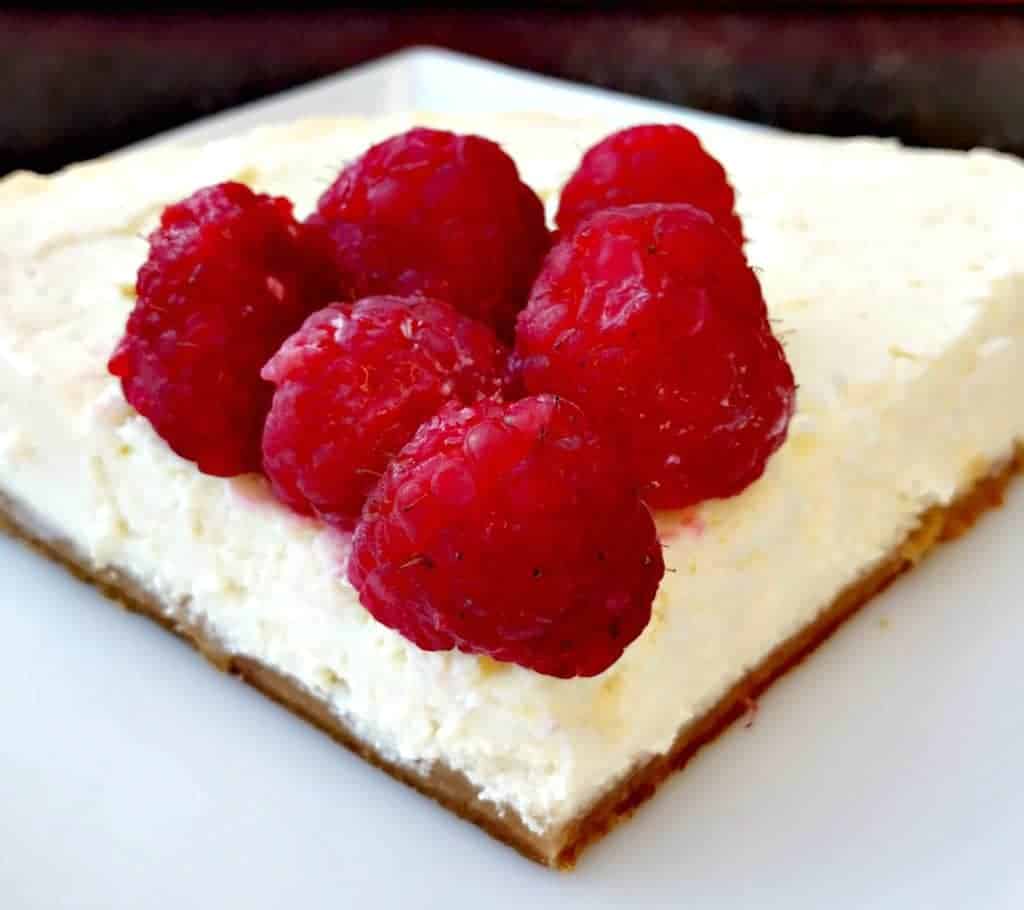
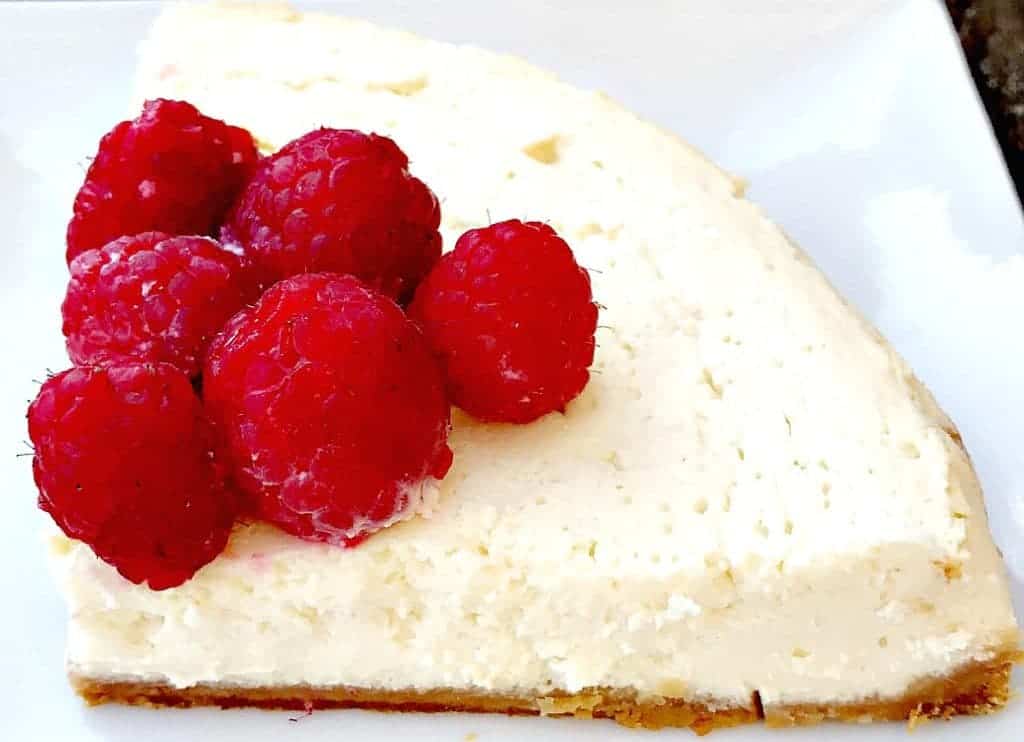
The filling looked great when I removed the cake from the Instant Pot and after I refrigerated. When I sliced into the cake, it crumbled immediately. I also wasn't using the best knife. So there are 3 things here that could have been the culprit! I still want to try out using reduced-fat cream cheese at some point. So stay tuned on if this is, in fact, an Instant Pot Cheesecake mistake.
Why the Instant Pot? Using the Instant Pot does cut down on cook time. Traditional cheesecake recipes require 45 minutes to an hour of bake time. I prepared this cheesecake in 35 minutes using the Instant Pot. Another thing to consider is the heat from the oven, especially during summer months.
Summer is on the rise here in Kansas City and we have already experienced some pretty hot days. Since I cook often, I will definitely have to use the oven throughout the summer. However, I am hoping this Instant Pot will help me lower my usage. I need all of the help I can get to keep my home cool this summer!
More Instant Pot Recipes:
Instant Pot Lasagna
Instant Pot Low-Carb Banana Nut Bread
Instant Pot Shrimp Risotto with Vegetables and Parmesan
Instant Pot BBQ Pulled Chicken Sandwiches
How to Make Hard Boiled Eggs Using the Instant Pot
Instant Pot Chicken and Spanish Rice (Arroz Con Pollo)
Instant Pot Chicken Alfredo Spaghetti Squash
Instant Pot Mongolian Beef
Instant Pot Steak Tacos
Instant Pot Chicken Taco Bowl with Quinoa
Instant Pot Buffalo Chicken Pasta
Pin me 🙂

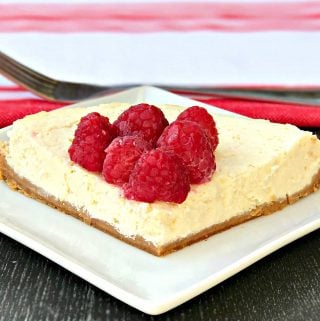
Table of Contents
Instant Pot No-Bake Cheesecake
Want to save this recipe for later?
Ingredients
Crust
- 1 ½ -2 tablespoon butter melted
- 1 cup graham cracker crumbs
Filling
- 8 oz cream cheese bring to room temperature
- ¼ cup sugar
- 1 ½ teaspoon vanilla extract
- ¾ cup plain, non-fat Greek yogurt bring to room temperature
- 1 egg bring to room temperature
- 2 tablespoon fresh lemon juice of
Topping
- ½ cup raspberries
Instructions
Crust
- Combine the melted butter and graham cracker crumbs in a medium mixing bowl. Stir until mixed.
- Add the crust to the 7 inch pan making sure to work the crust up along the sides.
- Use the bottom of a drinking glass to flatten the surface. Place the crust into the freezer while you prepare the filling.
Filling
- Add the cream cheese to a mixing bowl or standing mixer. Beat for 30 seconds with a hand blender or standing mixer.
- Add the sugar and then beat for 30 seconds.
- Add the Greek yogurt and beat for 30 seconds.
- Add the egg. Beat for 30 seconds.
- Add the lemon juice and vanilla extract. Beat for 30 seconds.
- Remove the crust from the freezer. Add the cheesecake batter to the crust. Make sure there are no air bubbles within the batter. If there are bubbles, drop the pan on a hard surface a few times. Smooth the batter throughout and along the edges of the pan with a spoon.
- Cover the top of the pan with foil to prevent water from getting into the cheesecake.
- Add a cup of water to the pot. Place the trivet inside the pot. (This comes with the device).
- Create a foil handle to remove the pan from the Instant Pot. Fold a large piece of foil in half the long way. This will be used to wrap around the 7 inch pan to make it easier to lift out of the Instant Pot.
- Place the foil handle in the Instant Pot. Place the pan in the middle of the pot over the foil handle.
- Set the Instant Pot on manual, 35 minutes.
- After the Instant Pot alerts that 35 minutes have passed, allow the steam to settle without quick release for 10 minutes. After 10 minutes have passed, quick release.
- Unfold the foil handle and remove it from the Instant Pot. Place the pan on a baking rack to cool. Allow it to cool to room temperature. I let my cheesecake cool for about an hour.
- Once cool, place in the refrigerator overnight (minimum of 5 hours).
- Remove the cake from the fridge. Push up on the bottom of the pan. The cake should form along the sides and should be loose and easy to remove. If the cake doesn't show signs of lifting on the sides, you haven't refrigerated long enough!
Topping
- Top with fresh raspberries and serve!
Notes
1. Do not use reduced-fat until further notice. I would like to experiment with this again, but as for now my success in this recipe was in refraining from using reduced-fat. 2. If you lower the suggested serving of graham cracker crumbs it may impact your ability to cut into the cake without it crumbling. The cheesecake needs a sturdy crust. 3. Wipe your cake cutter off with a paper towel between EACH cut. 4. If you don't cover your cheesecake while it's in the Instant Pot, it will likely get wet. I did have some water on top of the foil when I removed it. You should be able to dab this away with paper towels, but I preferred to avoid that. 5. DO NOT OVER-BEAT the batter. I outlined the 30-second rule for each ingredient to prevent this. If you beat the batter too much, air bubbles will form. The air bubbles will cause multiple cracks within the filling and could also cause it to fall apart. 6. Use ROOM temperature ingredients for the filling. I set my cream cheese, eggs, and Greek yogurt out on the counter an hour before I started. Cold items will not blend well. You want creamy filling.
Nutrition
Nutrition Data
Macros are provided as a courtesy and should not be construed as a guarantee. This information is calculated using MyFitnessPal.com. To obtain the most accurate nutritional information in a given recipe, you should calculate the nutritional information with the actual ingredients used in your recipe, using your preferred nutrition calculator. You are solely responsible for ensuring that any nutritional information provided is accurate, complete, and useful.


Monica says
It seems like everyone I know is raving about their instant pot and I've been so curious! This recipe looks amazing! I had no idea that a cheesecake can be made in one.
Lisa | Garlic & Zest says
Cheesecake is one of my favorite desserts and I love how you've lightened it up with greek yogurt! What a great idea. Now I can have TWO slices!
Dawn @ Girl Heart Food says
Wow! Cheese cake in an instant pot? That's so awesome and it looks so creamy and rich! Love the raspberry touch on top 🙂
Debra C. says
The heat from the oven is always a big deal here in Fresno - love how you've made this in the Instant Pot - what a treat!!
Ashley says
No bake cheesecake? Girl, count me in! I LOVE cheesecake. Sounds like I NEED to get an Instant Pot 😉
Stephanie@ApplesforCJ says
Wow. I can't believe this was made in an instant pot. Looks incredible!
Emily says
This is such a brilliant instant pot recipe, can't wait to try and am pinning it right now!
Monica | Nourish & Fete says
This looks great, and I couldn't agree more about sticking with fresh berries for the topping, especially now in the heat of summer!
lindsay Cotter says
I just got my instant pot and haven't tried desserts either. Now that's all gonna change! Haha, LOVE IT! genius!
Liz Mays says
This sounds like such a treat! I need to start experimenting with my instant pot for recipes like this. This is such a clever way to make cheesecake!
Beth @ Binky's Culinary Carnival says
I'm not a big sweet fan either but...Cheesecake is my favorite! I don't own an Instant Pot yet, maybe time to invest!
Paula Atwell says
I still haven't tried an Instant Pot but your recipe looks delicious. Maybe for my next birthday. . .
Michelle @ Vitamin Sunshine says
Instant pots can do everything, can't they?!
Sia | Monsoon Spice says
Cheese cake in instant pot?! This definitely is the most unique and innovative recipes I have come across today and it just gave me another reason to buy an instant pot.
Lois Alter Mark says
I've never used an instant pot but if it makes cheesecake like this, I think I'd better buy one right away! This looks delicious!
Rebecca Bryant says
okay, i am amazed this was made in an instant pot. I had no clue you could do this.
reesa says
Wow cheesecake is so finicky! To be able to get one so perfect in an instant pot is a real feat! It sounds so easy too!!!
Keikilani says
Okay! That is crazy! I love all the fun new recipes for the Insta Pot. You have me convinced we need one.
Jasmine says
I do not like many cakes, but cheesecake is soooo good! This may have convinced me to buy an Instant pot..
Ashley says
Love that this is so quick and easy! Plus the addition of raspberries is always great with cheesecake 🙂
Teacher Riya says
What I liked the most is that this cheesecake contains 6g of protein. So, it is a healthy addition. Thanks for sharing this recipe in easy to understand way.
staysnatched says
Thank you! I'm happy you found it easy to follow.
Ilene says
Is the nutritional count for one serving (1/8 of the pie) or for the entire pie? Also, in your pic is that serving slice 1/8th or 1/4th?????
staysnatched says
Both are 1/8th. One serving = 1/8th
Margie says
I made this yesterday as a special treat for my husband's and my 55th anniversary. It was delicious but not heavy like my NY cheesecake that I had made for years. Plus no oven needed in our almost 100 degree heat!
staysnatched says
That's awesome! I'm glad you enjoyed it.
Cheryl G says
Can I substitute stevia for the sugar?
staysnatched says
Yes. You will have to convert the amount you use.
Shirley says
Can I used sour cream instead of yogurt?
staysnatched says
Sure, if you want.